How to Throw a You've Got Mail Themed Party

shopgirls

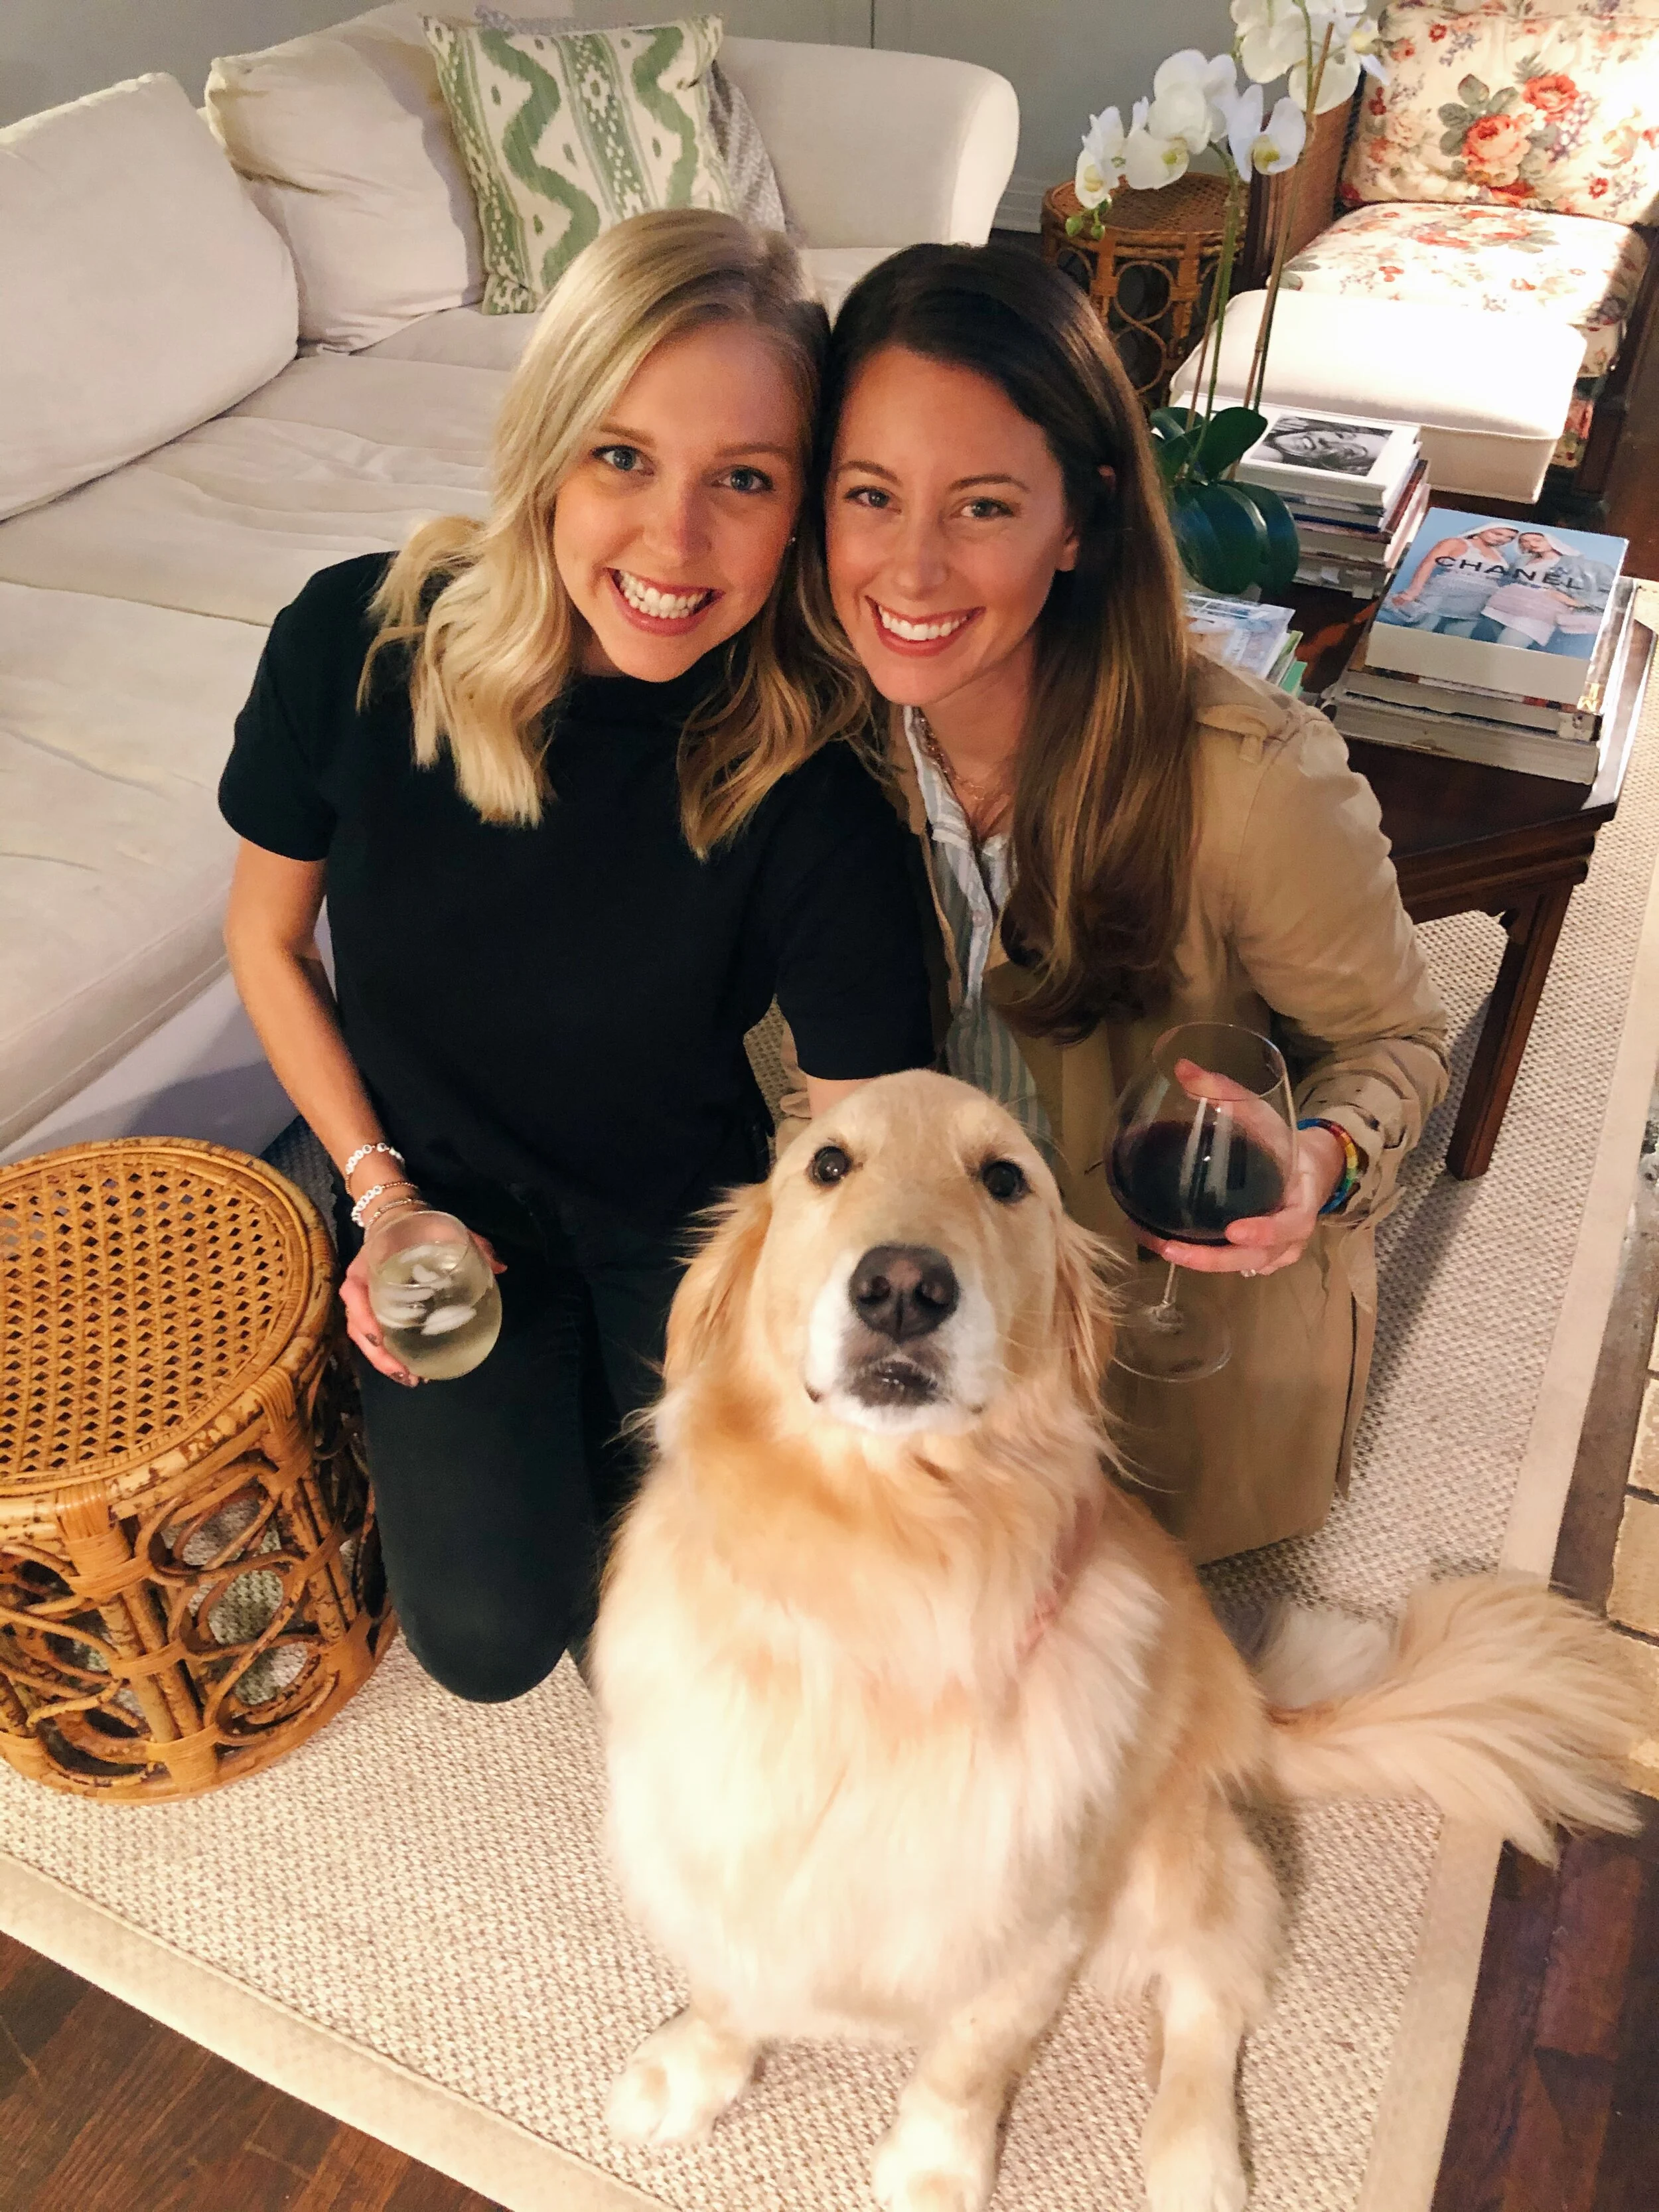
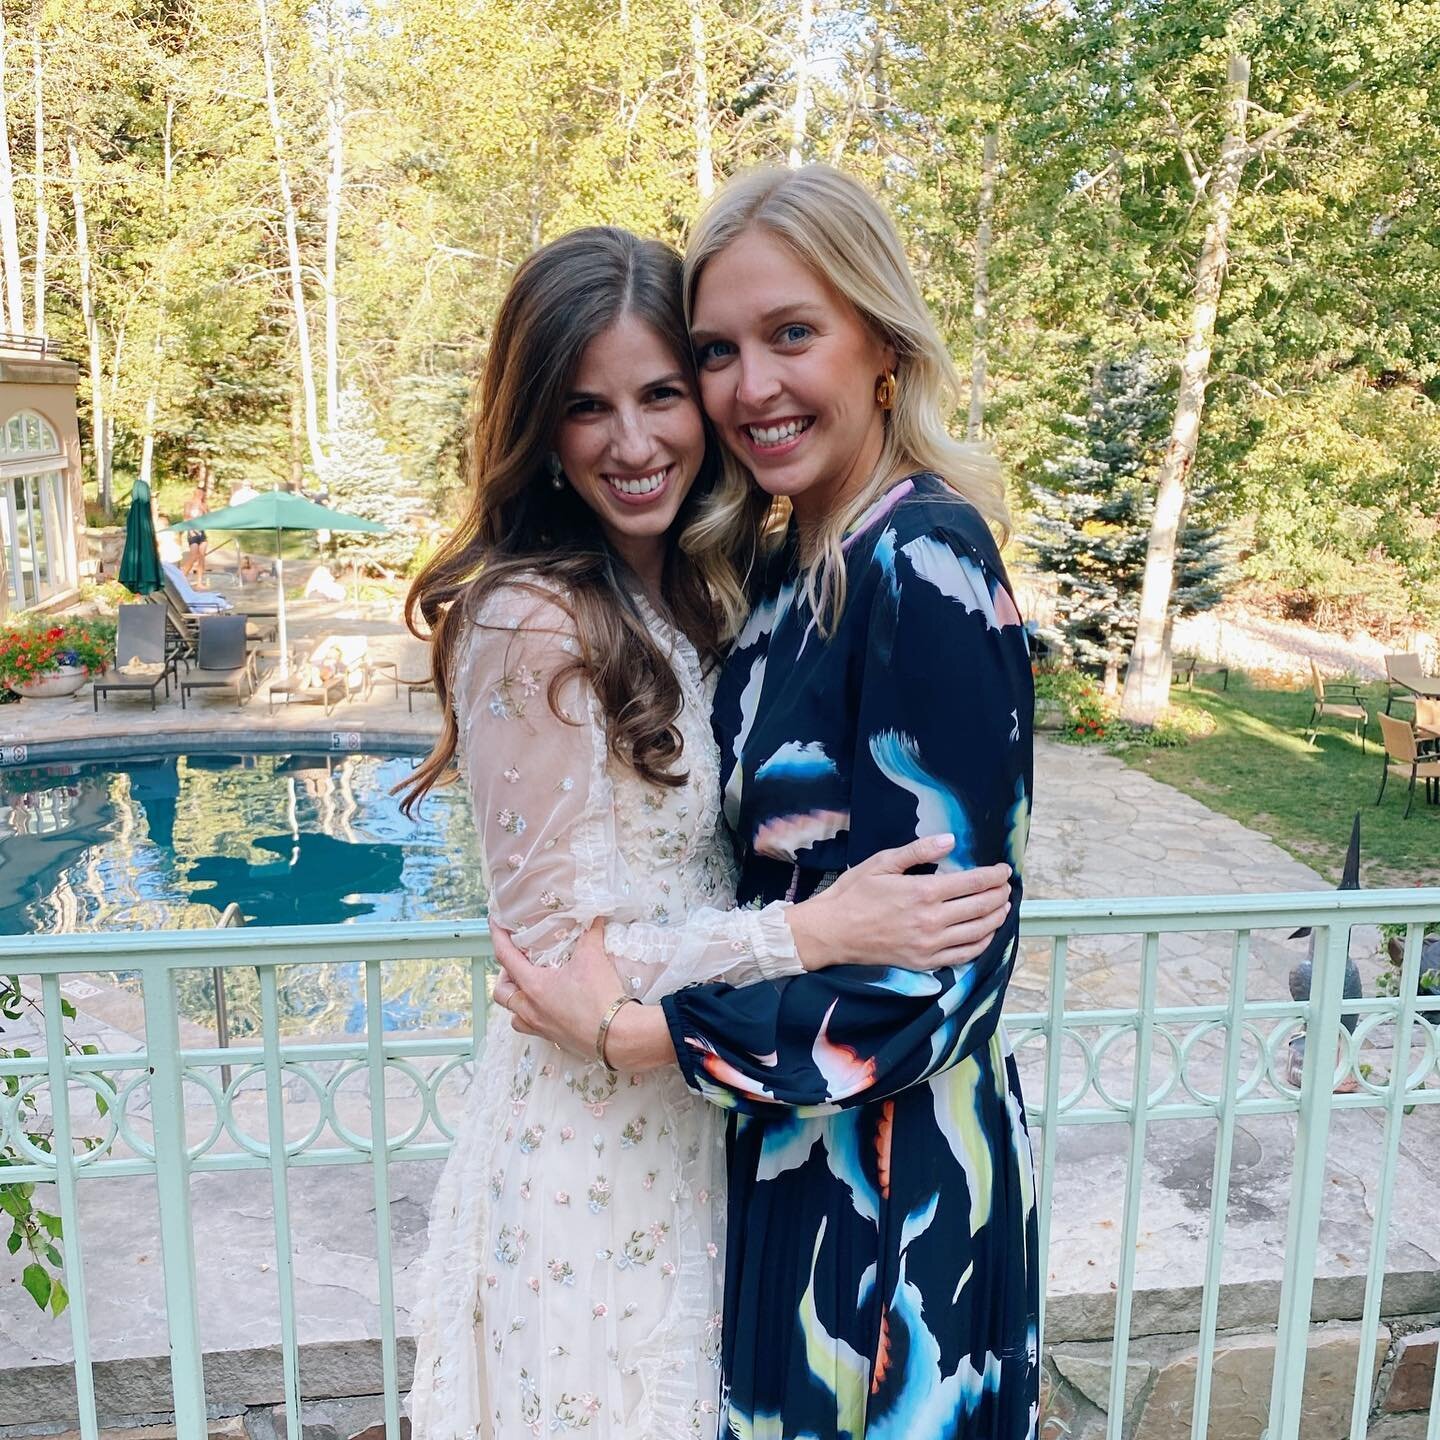
I’ve seen You’ve Got Mail approximately 101 times, but it wasn’t until a few weeks ago while watching it for the 102nd time that the idea popped into my head to use the movie as the theme for a party. It was late at night, but I started rattling off notes in my phone so I wouldn’t forget my ideas the next morning. I called on my friend Mary who shares the same love for NY152 like I do, and we started planning. Her dog pictured above is named Brinkley if that tells you anything.

invite.jpg

Up first, the invitation. We knew it had to be an email. It wouldn’t be a You’ve Got Mail party without an email in our guest’s inbox signifying they had mail. We had initially planned to host it at my apartment, but 1. it’s tiny and 2. in the midst of planning Mary had moved into the coziest new rent house that become the perfect space for our fall party.

set up

Next, the food. We went the heavy hors d’oeuvres route with chips, dips, meats, cheeses, and New York’s signature, the black and white cookie. The only thing I made were the bacon wrapped dates. Just take a pitted date and stuff with goat cheese, wrap with 1/2 a piece of bacon and toothpick it closed. Bake at 350 for 20-25 minutes or until bacon is cooked to your liking.

fish

The theme played out in these few items: “at least it wasn’t the fish” goldfish and “that caviar is a garnish,” cowboy caviar and chips. Caviar taste on a Trader Joe’s budget was the name of the game. To end the night we served the black and white cookies with a “tall decaf cappuccino” aka decaf coffee with frothed milk. I picked up tall size cups from Starbucks to make it really feel like the movie, and then brewed a pot of decaf coffee and used my milk frother to froth up some nut milk.

caviar
cappuccino
pencils

For decor, we had to have a bouquet of sharpened pencils and daisies of course. Kathleen’s favorite flower. “Don’t you think daisies are the happiest flower?” I bought a few packs of these pre-sharpened pencils on Amazon, because do they even make pencil sharpeners anymore? The daisies and fall mums were from Trader Joe’s.

daises

The mix of truffle potato chips, gold fish, and bacon-wrapped dates left me thinking “uhhh, where are my tic tacs??” A pack for each guest (that we forgot to pass out oops!) made for perfect party favors.

tic tacs

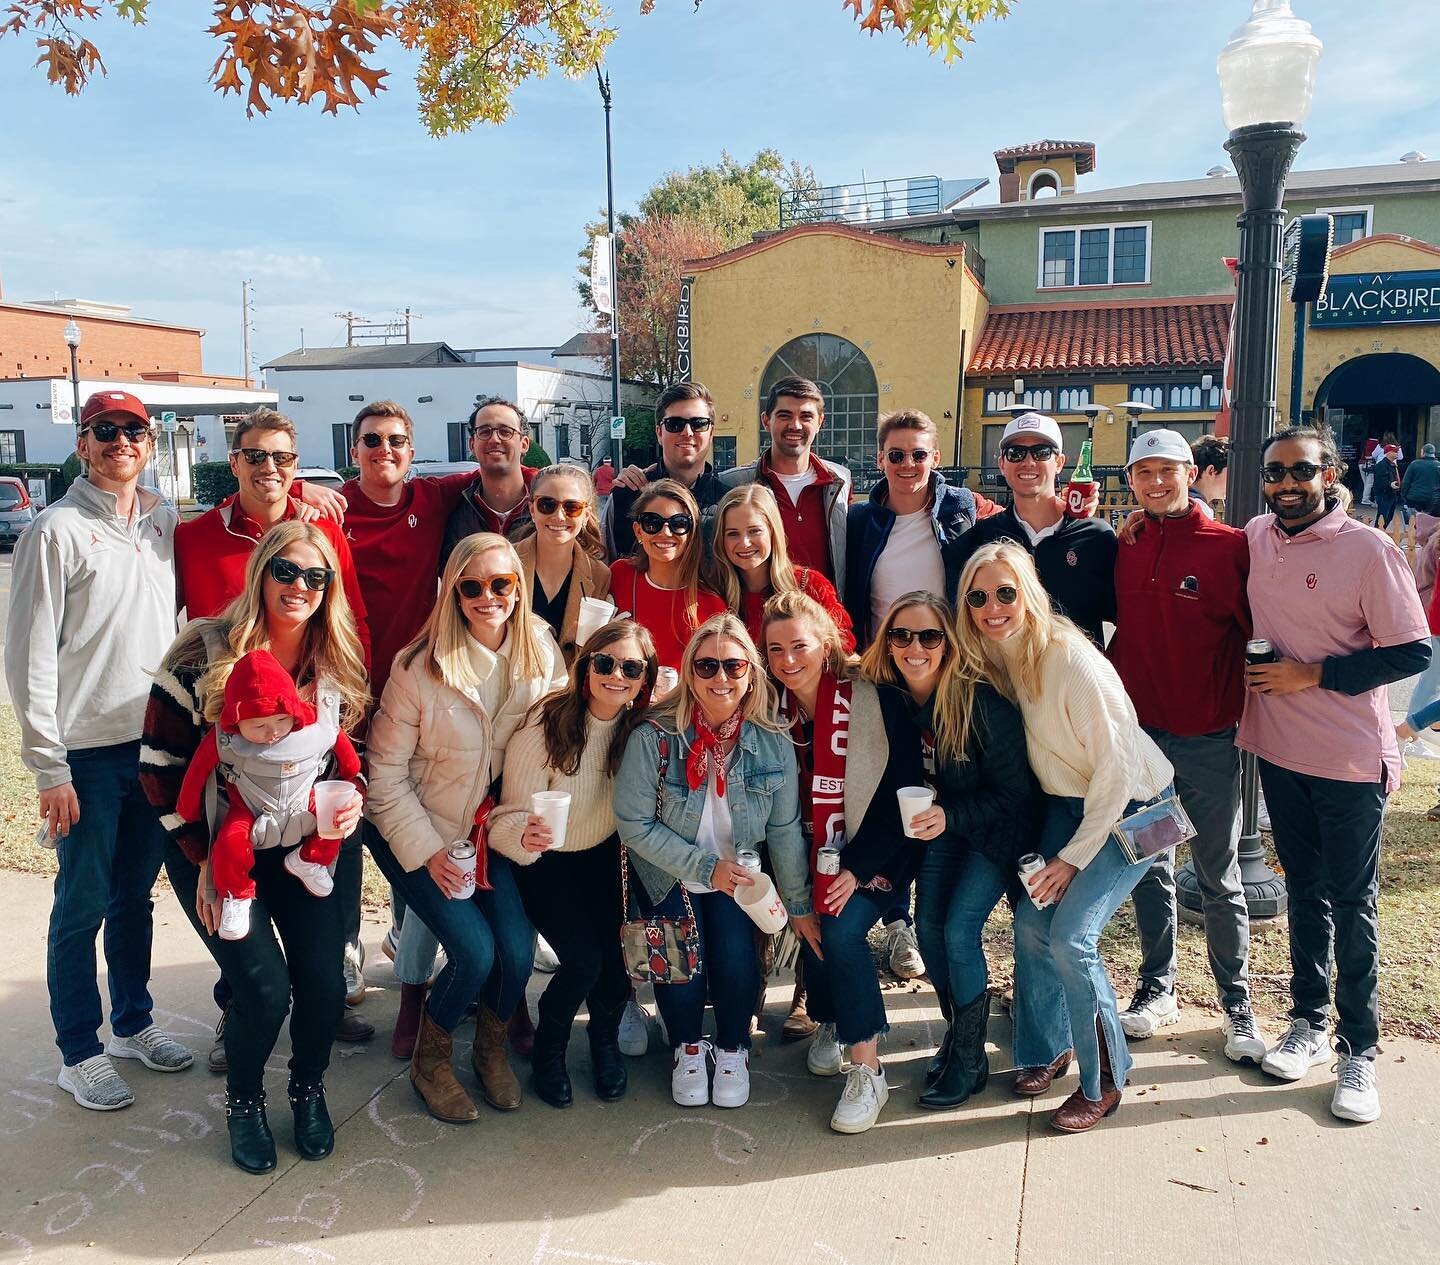
It turned out to be such a fun night with a really great mix of new and old friends. We had the movie and soundtrack playing through the night, encouraged everyone to come in their best Kathleen Kelly get up, and did trivia to test everyone’s knowledge. A link to my trivia and themed menu cards are linked below for you to download.

shopgirls 2

Do you recognize our outfits from specific scenes in the movie? A classic Kathleen turtleneck while ragging on Joe Fox about the caviar at the cocktail party was me, and pj’s with a trench coat full of tissues while sick in her apartment was Mary.

I hope this inspires you to host your own You’ve Got Mail party! If you do, be sure to tag me on Instagram in your party pics.

Annie

DIY Treat Bags

Yesterday I posted the recipe for my little Homemade Pop Tarts I made for all the galentines in my life. Today I'm showing the super simple DIY Treat Bag I put together to deliver them in. 

With just a hole punch and some twine I was able to take regular ole lunch sacks and transform them into cutie little goodie bags! What's inside helped too:)

Supplies: 
brown paper lunch sacks
hole punch
scissors
pink twine
pink cardstock paper

Directions:
To get the decorative edge, punch five holes along the top of your sacks. Fill them with whatever is going inside then fold over the top an inch and a half. Punch two more holes along the top to string your twine through. Cut about a foot long piece of twine and tie a knot through the top two holes you just created. 

To make the tags, I used a small heart cookie cutter to trace it on the cardstock. Cut them out and punch a hole in the corner. String it on the twine, and finish with a bow!

Anyone baking up some Pop Tarts or passing out Valentines today? Happy holiday weekend! 

Annie

DIY Happy Birthday Sign

I kind of hate the whole term "crafting" or "crafty" or "crafts." Thanks to the sorority world "crafting" has become a stereotypical pastime. I associate these words with new mommies or middle age women making burlap wreaths or detailed scrapbooks. You know what I mean? Those people who scour the aisles of Hobby Lobby and have a whole room devoted to "crafting." 

This isn't saying I don't like to be creative or making things with my hands, but the word "craft" just makes me squirmy inside. I like creative and well made things not crafty painted canvases with mushy gushy pinteresty quotes. Pardon my rant, moving on.

A couple of weeks ago was one of my roommate's 21st birthday and the house was in need of a little celebratory decorations! I came up with this little birthday sign and it just turned out so cute! 

What You Need:
craft colored paper
paper cutter
scissors
hole punch
tissue paper
twine
printer

To Make:

1. Create a word document with the page format in landscape. Using a bold block font in about a 450 pt. size type out whatever you want your sign to say. (Make the font large enough so two letters fit on each page).

2. Print your saying onto the craft paper. Trim each letter into a rectangle then angle the bottom to crate a pennant like design. Essentially just cutting a triangle out from the bottom.

3. Hole punch the top corners of each letter.

4. Using my instructions on how to make a tassel, create one to go between each letter. I cut my sheets of tissue paper in half to make mini tassels. 

5. Now that you have your letters and tassels string them on to your twine. You can make one long sign or split each word up like I did. See below.

So this isn't a craft, but instead a creative project! You can get even more creative and use this DIY for a holiday, or include someone's name, or for a shower or party! Use green and red for Christmas, orange and black for Halloween, etc. 

Annie

In a Flash

So my dad has one rule. If any of us are to ever get a tattoo we have to get two. The first can be whatever we want and the second has to be 'stupid' across our forehead. Don't worry dad, you drilled that into my head to make me never want to get a tattoo. Although, temporary tattoos are excluded from that rule. 

Flash tattoos have quickly been popping up everywhere. Sister Claire and I first saw them at my favorite store in D.C. Wink, (that I also mentioned here) when she was here visiting. We instantly loved them and bought a package to split. 

Since purchasing, I've seen them all over. The tattoos come in 9 different packages. I've loved mine and they are a great conversation starter to say the least when someone sees them. I even had a girl comment on them in my Barre 3 class in the middle of push-pulls...that was a new one. 

Follow along with my awkward dorm bathroom pictures as I go through the obvious steps to putting on temporary tattoos. (It seemed like a much cooler idea at the time, now I feel slightly dumb for assuming someone doesn't know how to put on a temporary tattoo).

To my experience they stay on for about a solid week. They are bringing back to the whole 90's childhood thing that is resurfacing in a much cooler way. 

You can order your own Flash Tattoos here!

Annie

Valentine Nail Art

I am a very spirited person when it comes to almost everything. I like to really get into things, which includes painting my nails to match whatever holiday is coming up. Red and blue on the Fourth of July and red and green for Christmas. Last year I did a similar Valentine design, but with the traditional red and pink. I'm keeping things a little more subtle this year, but still celebrating the holiday on my nails!

For this nail design all you need is a good beige and white nail polish. I recently bought Essie's "Sand Tropez," and it is without a doubt my favorite nail polish I have ever had. I've had it on my nails for about 2 months. As for white, L'Oreal's "I Will" #220 is a great and doesn't come out streaky. 

Start with a good coat of your beige polish. I always do two coats of polish. (Please ignore my wrinkly dry hands and hangnails.)

Now for the heart. I don't use any special tools or toothpicks. Just get a tiny bit of white polish on the end of your brush and make a little angled mark, to form half of your heart. (Cue "Half of My Heart" lyrics by John Mayer.) The shape of most brushes is kind of rectangular, so use that to make the half. You don't have to make any strokes. I'm sorry if I just talked in circles and that didn't make any since at all.

Repeat the step again, making an angled mark on the other direction to form a full heart! Wait for your heart to dry then top off your nails with a top coat. Now you have subtle but spirited little Valentine nails!

Annie