Better For You Brownies + Giada's Happy Cooking

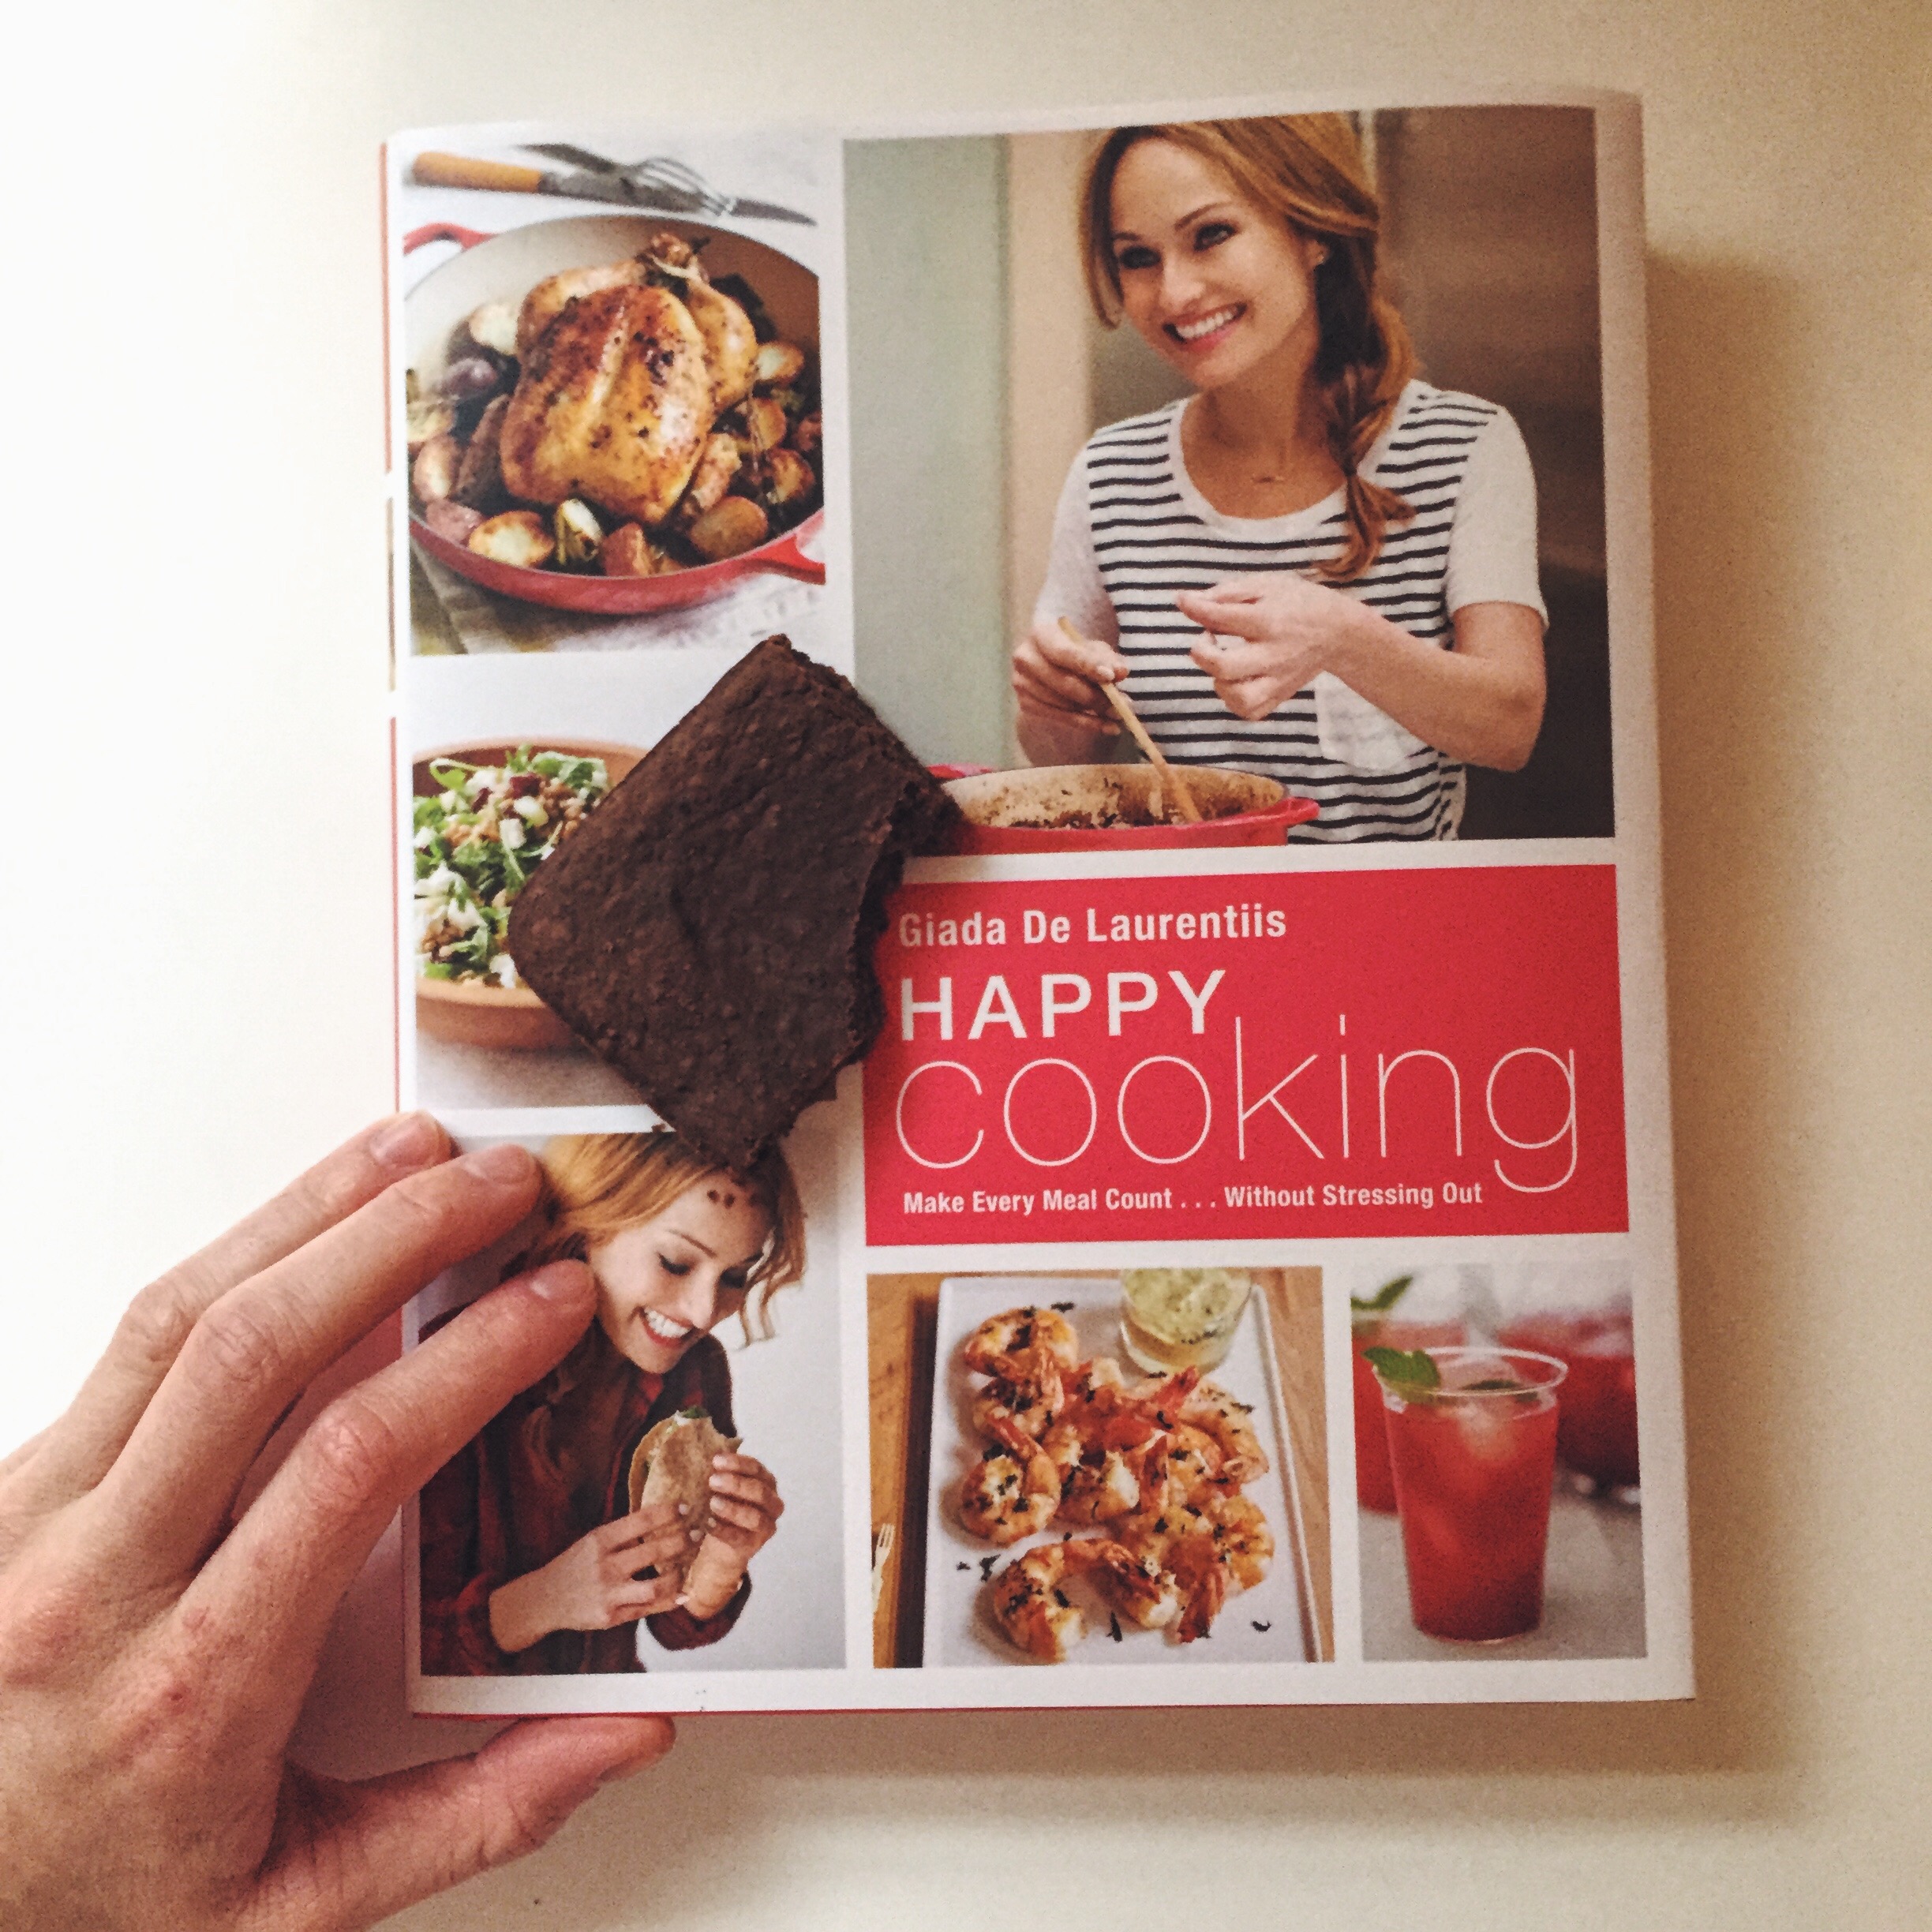
For me, I'm happiest when I'm cooking. For Giada De Laurentiis it's the same. It's also the mantra behind her new cookbook, Happy Cooking. I chose her book for this round of my Blogging For Books.  I have grown up watching Giada on Food Network, but in her past few seasons she has really focused on healthy and nourishing recipes. Something you don't always see on Food Network. I love ya PW but a stick of butter can't go in everything...

Happy Cooking is stock full of happy healthy recipes. And nothing that is too difficult. GDL quotes "make every meal count...without stressing out!" Between her lightened up pasta dishes, gorgeous vegetable sides, Sunday dinner comfort food, I not surprisingly leaned toward her sensible sweet treats for this recipe post. 

Black bean brownies. Don't be scared of them. If Giada is doing it, you know it's no fluke. They are satisfying without being too sweet, the perfect thing to end a meal with. She includes peanut butter chips in her recipe which I obviously omitted. Check the recipe below for some alternate additions!

Better For You Brownies adapted from Happy Cooking
yields 9

Ingredients:
1 (15-oz) can black beans, rinsed well and drained
3 Tbsp. unsweetened cocoa powder
1/2 cup rolled oats
1/4 tsp. salt
1/2 cup packed brown sugar
2 tsp. vanilla extract
1/2 tsp. baking powder
1 Tbsp. espresso powder or coffee granules
1 large egg, plus 1 yolk
1/4 cup coconut oil, warmed so it is a liquid

Directions:
Preheat the oven to 350 degrees. Spray and 8x8-inch pan with cooking spray. Cut a piece of parchment paper to fit the bottom of the pan and adhere it with the cooking spray, then set aside. 

In a food processor, place the drained black beans, cocoa powder, oats, salt, brown sugar, vanilla, baking powder, coffee, egg and yolk. Puree to combine. With the motor running, drizzle in the melted coconut oil until everything is pureed and smooth. Spread the batter in the pan. Bake fro 20 to 25 minutes, or until a toothpick comes out clean. Allow the brownies to cool and enjoy!

*Would be great with chocolate chips sprinkled over the top, a coffee glaze made from coffee and powdered sugar, or a big slathering of almond butter over each piece. Or, you can take these somewhat healthy brownies and serve them with a big scoop of ice cream like I did. Balance ya know?
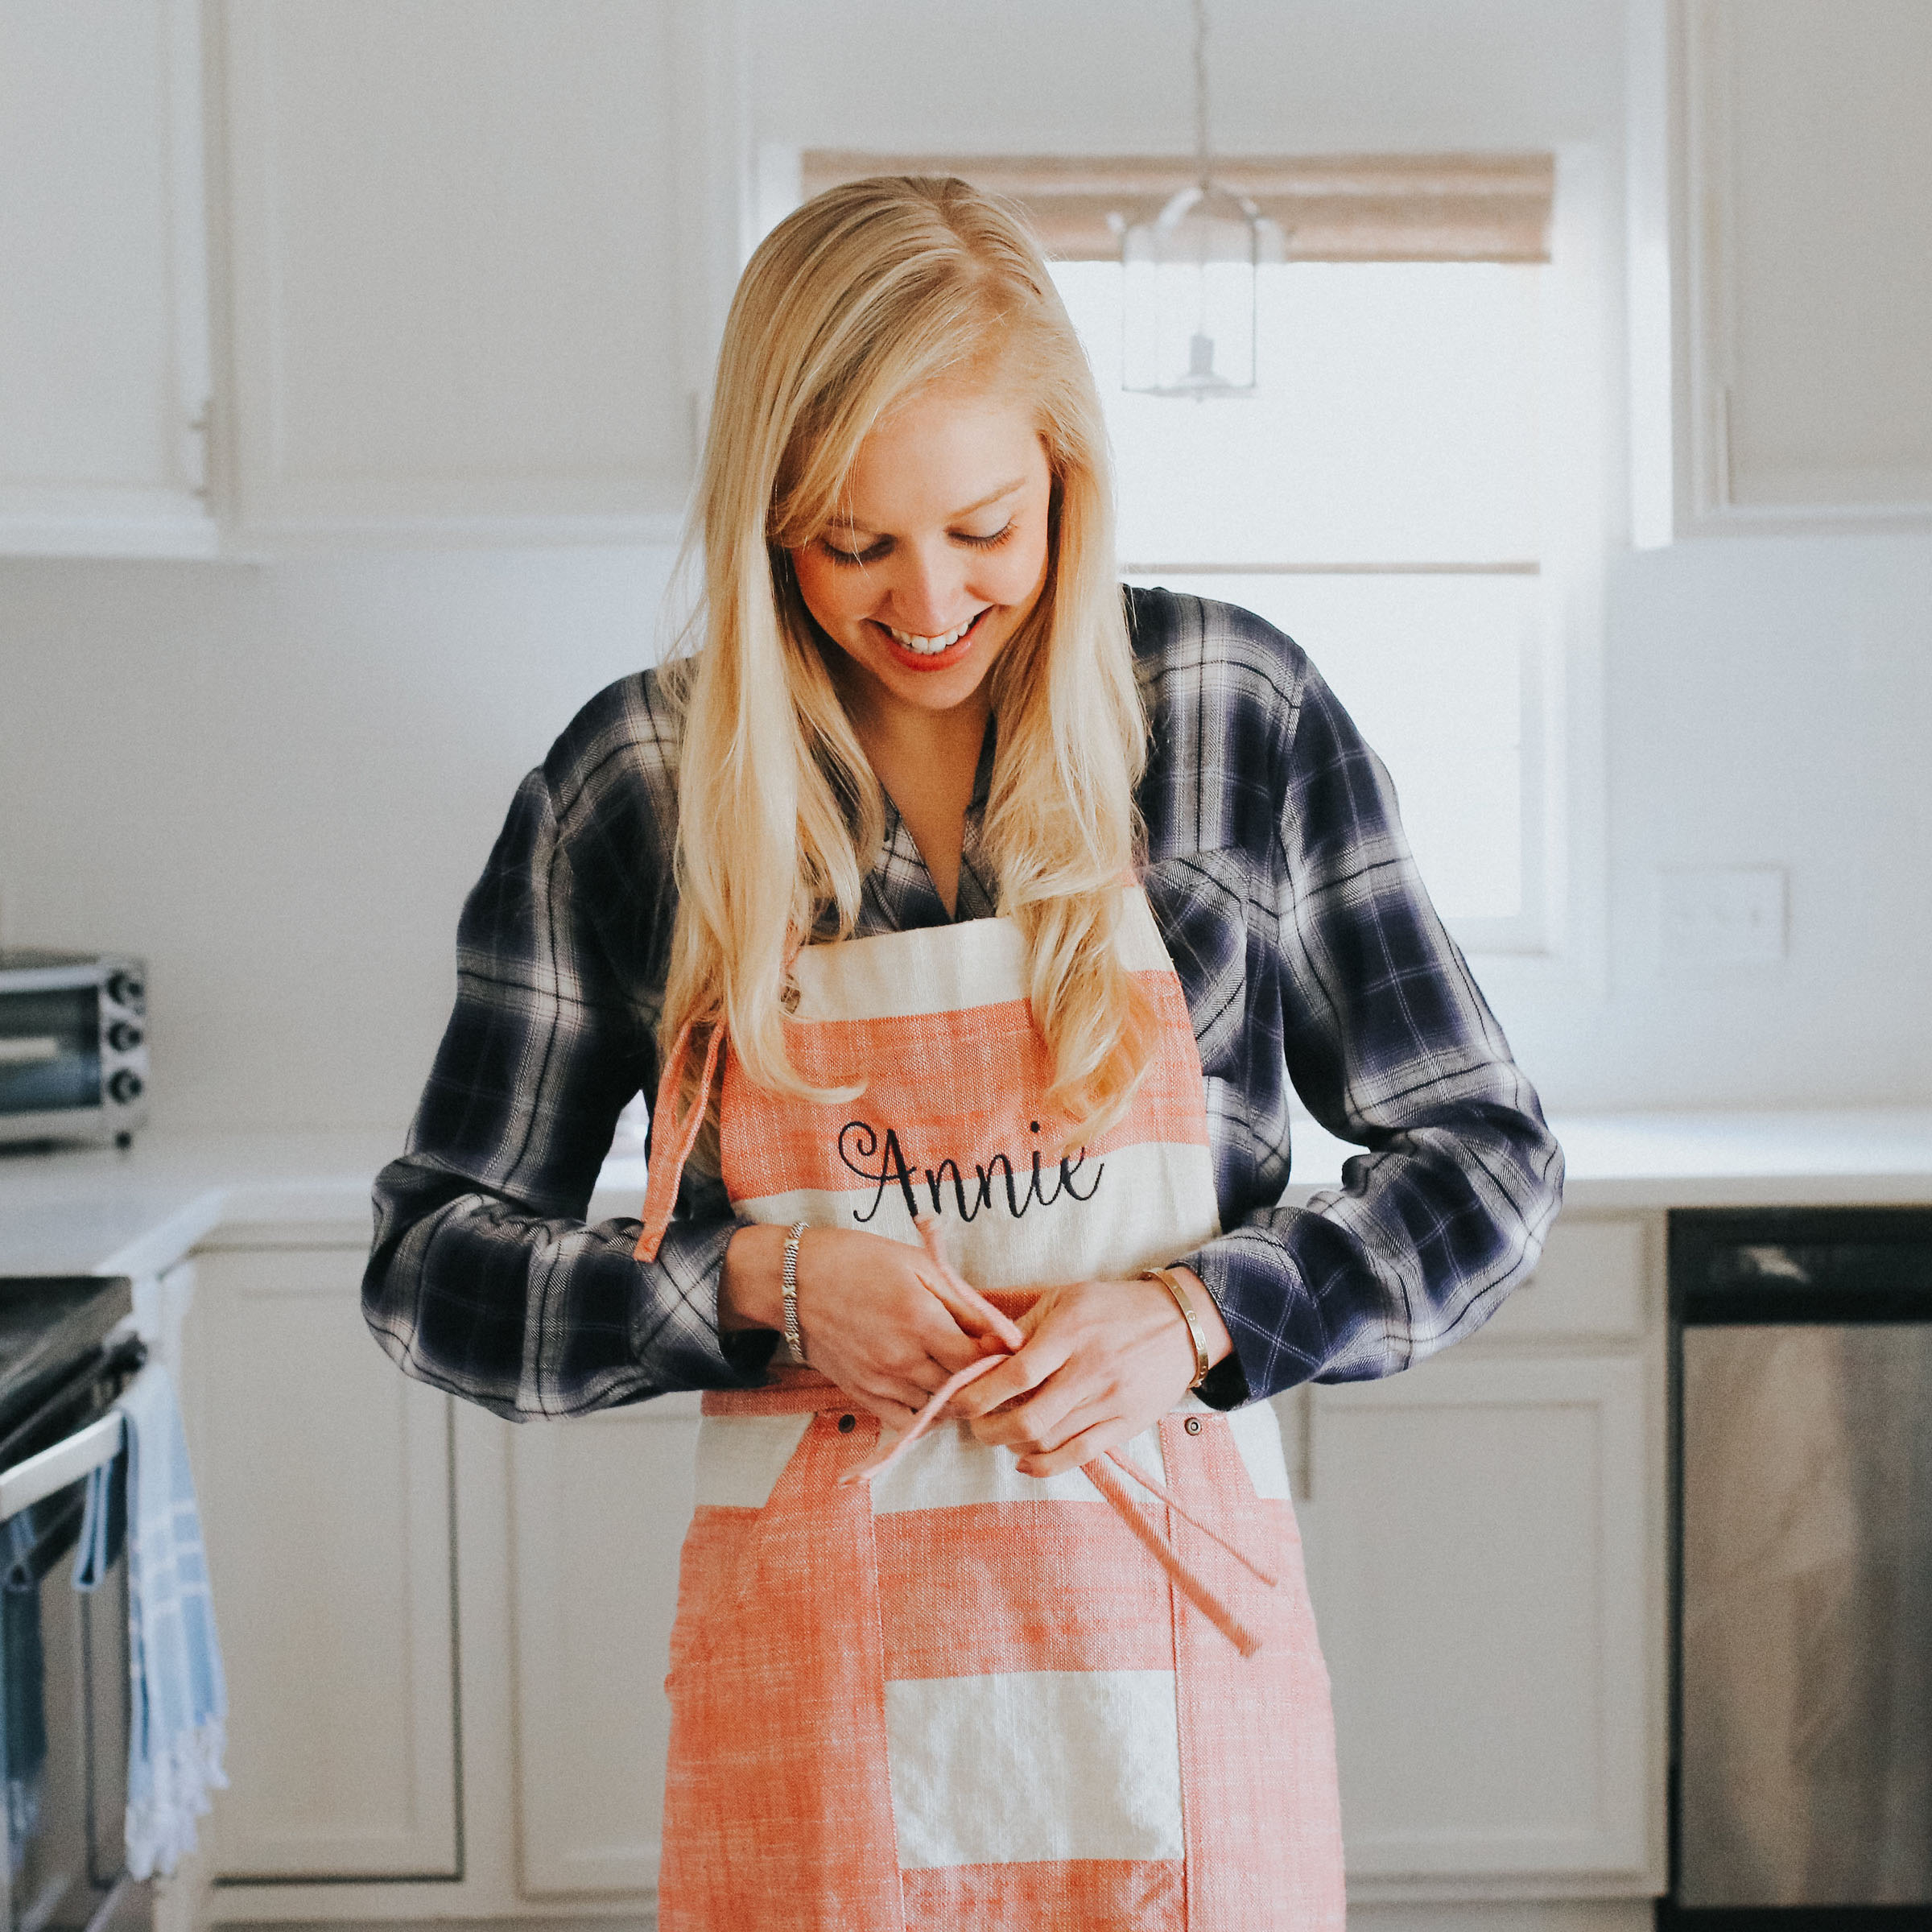
Annie

I received this book from the Blogging for Books program in exchange for this review. Read more about my thoughts on Happy Cooking here.

Β 

Zesty Chicken Salad

image.jpg

I'm coming in clutch for your lunch game. This chicken salad is zesty, fierce and Barre3 approved. I found the recipe in Barre3 founder, Sadie Lincoln's book, Love Your Lower Body. Not only is my lower body loving this recipe, so are my taste buds. 

It takes the traditional idea of chicken salad, but gives it a little kick in the tush. Pickles? I love. Paprika? Zesty. Apple? Why not. Best part is it only uses a little bit of greek yogurt and dijon mustard. Traditional chicken salad calls for mayonnaise, but mayonnaise gives me the heebie jeebies. I watched a video in 10th grade chemistry on how mayonnaise was made and that was pretty much it for me. 

One of my roommates and I got into a chat about chicken salad after I made this and we love how versatile it is. It can be a salad, a wrap, a sandwich, even a dip. Add some curry powder and you've got an Indian spin on. So many options with this zesty lunch!

Zesty Chicken Salad adapted from
yields 4 servings

Ingredients:
2 cups diced cooked chicken breasts*
1 cup diced dill pickles
1 Tbsp. finely diced onion
1/4 cup cilantro, chopped
1/2 Tbsp. dijon mustard
3 Tbsp. plain greek yogurt
1/2 tsp. paprika
1/4 cup dried cranberries or raisins
1/2 granny smith apple, chopped
1/4 tsp. sea salt
Spinach, kale, arugala, or whatever your favorite greens are; for serving

Directions:
In a medium size bowl, mix together all ingredients. Done, that's it. To serve, place about a cup of greens on a plate with equal portions of the chicken salad on top. 

*My favorite way to cook chicken breasts is by placing them in the crock pot with 1/2 cup of water, salt and pepper and let them go on low for 3-5 hours. You can even do this with frozen chicken breasts they will just take a little longer. 

Annie

Barre3 Chicken Tikka Masala

We are now halfway through week 2 of the Barre3 challenge. I'm feeling so good so far. Good food flowing inside my body and good vibes outside of it. Easily the best part of the Barre3 challenge is the "nourishment" component. The Barre3 website is full of amazing healthy recipes. I've always coveted this tikka masala recipe, so I knew I would be making it during the challenge. 

I have a soft spot for any kind of food outside American. Thai, Ethiopian, Latin, India etc. Tikka Masala is a traditional indian dish made with chunks of chicken in a creamy spicy sauce with tomatoes and indian spices. The original recipe was developed by Andrea of Dishing up the Dirt. No cream just coconut milk, brown rice instead of basmati and skipping the naan help to keep this version of masala a little more health friendly. 

There is no skimp on flavor and it's incredibly satisfying. The tikka masala was last week's B3 recipe, Kathleen made their pistachio crusted tilapia this week, and next week it's my turn again!  

Barre3 Chicken Tikka Masala
yields 4 servings

Ingredients:
2 Tbsp. coconut oil
1 medium yellow onion, diced
3 cloves of garlic, minced
1-inch piece of whole ginger, peeled and minced
1 1/2 pounds boneless, skinless chicken breast, cut into bite-size pieces
2 Tbsp. tomato paste
1 1/2 Tbs. garam masala
2 tsp. paprika
2 tsp. salt
2 (14-oz.) cans diced tomatoes
1 cup coconut milk (from the can)
1 Tbsp. corn starch (optional)
1/2 cup cilantro, finely chopped
2 cups brown rice, cooked (1 cup dry)

Directions:
In a medium-size deep saute pan or heavy bottom pan, heat coconut oil over medium-high heat. Add the onion and cook, stirring often, until the it is tender and fragrant, about 5 minutes. Stir in the garlic and ginger. Cook for about 3 more minutes. Add the chicken and cook until the it begins to brown on all sides, about 5-8 minutes.

Stir in the tomato paste, garam masala, paprika, salt, tomatoes, and coconut milk. Bring to a boil and then reduce heat to a simmer. Cover and cook, checking often to make sure the curry doesn't dry out (add water if necessary). Cook until chicken is cooked through and tender and the masala is thickened, about 25 to 30 minutes. I struggled with my masala being really brothy and not thickening up properly so I added a corn starch slurry. Combine 1 Tbsp. corn starch and a 3 Tbsp. water then pour into your sauce. This thickened my dish perfectly!

Serve with cooked brown rice and garnish with cilantro.

Annie

Cranberry Orange Holiday Detox Smoothie

If you don't have the Timehop app on your phone, please download it. It's the first thing and my favorite thing I check in the morning. It pulls your photos, Instagrams, Facebook posts, tweets and more from that exact day over the past few years. Downside is it can be extremely embarrassing when it shows you tragic Facebook statuses from freshman year of high school. Annie Tucker is...so pumped for winter formal with my girls!!

According to Timehop, a year ago today I had just gotten home from skiing, two years ago I was posting about my favorite things, three years ago I made parmesan baked eggs for breakfast and ate at The Mule for the first time, and 8 years ago I tweeted "has no hair." No idea what that meant. 

The real point of this whole Timehop rant is that it brought this holiday detox smoothie back to my attention. I screenshot recipes all the time, and since Timehop pulls your iPhotos too I'm also reminded of recipes that sometimes get forgotten. My recipe was adapted by an original post from Free People

Cranberry Orange Holiday Detox Smoothie
yields 1 smoothie

Ingredients:
1 cup almond milk
1 Tbsp. almond butter
1/2 cup frozen cranberries (I buy fresh then freeze them)
1 clementine, segmented
1/2 frozen banana
cinnamon

Directions:
Smoothies are always better if you use frozen fruit! You then avoid having to add ice which waters down your smoothie. That being said, keep all of your fruit in the freezer. Add everything to your blender and blend blend blend! It will be a pretty shade of pink with little bright redish pink specs from the cranberries. I only use half of a banana because I'm not a banana girl, but you can add more if you choose. 

This smoothie still has a few tastes of the holidays from the cranberries and orange, but it's refreshing and bright to get you through dreary January mornings. 

Who says copper mugs are only for Moscow Mules?

Annie

Popping into 2016

One of my most fun and thoughtful Christmas gifts was a popover pan. Kind of random, but it has meaning. Back in August when we went to Newport Beach we had back to back breakfasts at the most amazing little market called Zinc. One morning my dad ordered a popover. Popovers; not something you make or see in too many places but they are fantastic. They are kind of like an airy and eggy muffin. We both couldn't stop talking about how much we loved popovers and needed to make our own, only catch is you have to have a popover pan to make them properly. 

Ding ding ding I think this is the moment a lightbulb must have gone off in my dad's head. *Buy Annie a popover pan for Christmas so she can make me popovers* Whatever you want dad! Popovers can come in all different flavors and served in different ways. With jam, or butter for breakfast or just plain served with savory dishes for dinner.

After being iced in the other night, I made us some comfort food lasagne paired with popovers instead of rolls. Such a hit. Goodbye rolls, popovers just overruled you. 

I used this recipe as my guide and I love the way they turned out. It makes 6 perfectly puffed up popovers. They mention how you can make them in a muffin pan, but I haven't tried yet. I had to put my present to good use of course! You can't beat the height you get from the popover pan!

Perfect Popovers
yields 6 popovers

Ingredients:
1 cup flour
1 cup milk
3 eggs
1/4 tsp. salt
2 Tbsp. butter

Directions:
Preheat your oven to 450 degrees. 

Whisk together the flour, milk, eggs and salt. Let the batter rest for 15 minutes. Place about 1 tsp. of butter into the bottom of each popover pan cavity. Place in the oven and let the butter get hot and melted. About 1 to 2 minutes. 

Divide the batter amongst the pan. Fill each cavity halfway up with batter. Bake for 15-20 minutes or until the popovers are brown and puffed up! Serve immediately. 

They are best served warm, but can be reheated the next day. Serve plain, with butter or with jam. 

Now lets pop on over to 2016!

Annie