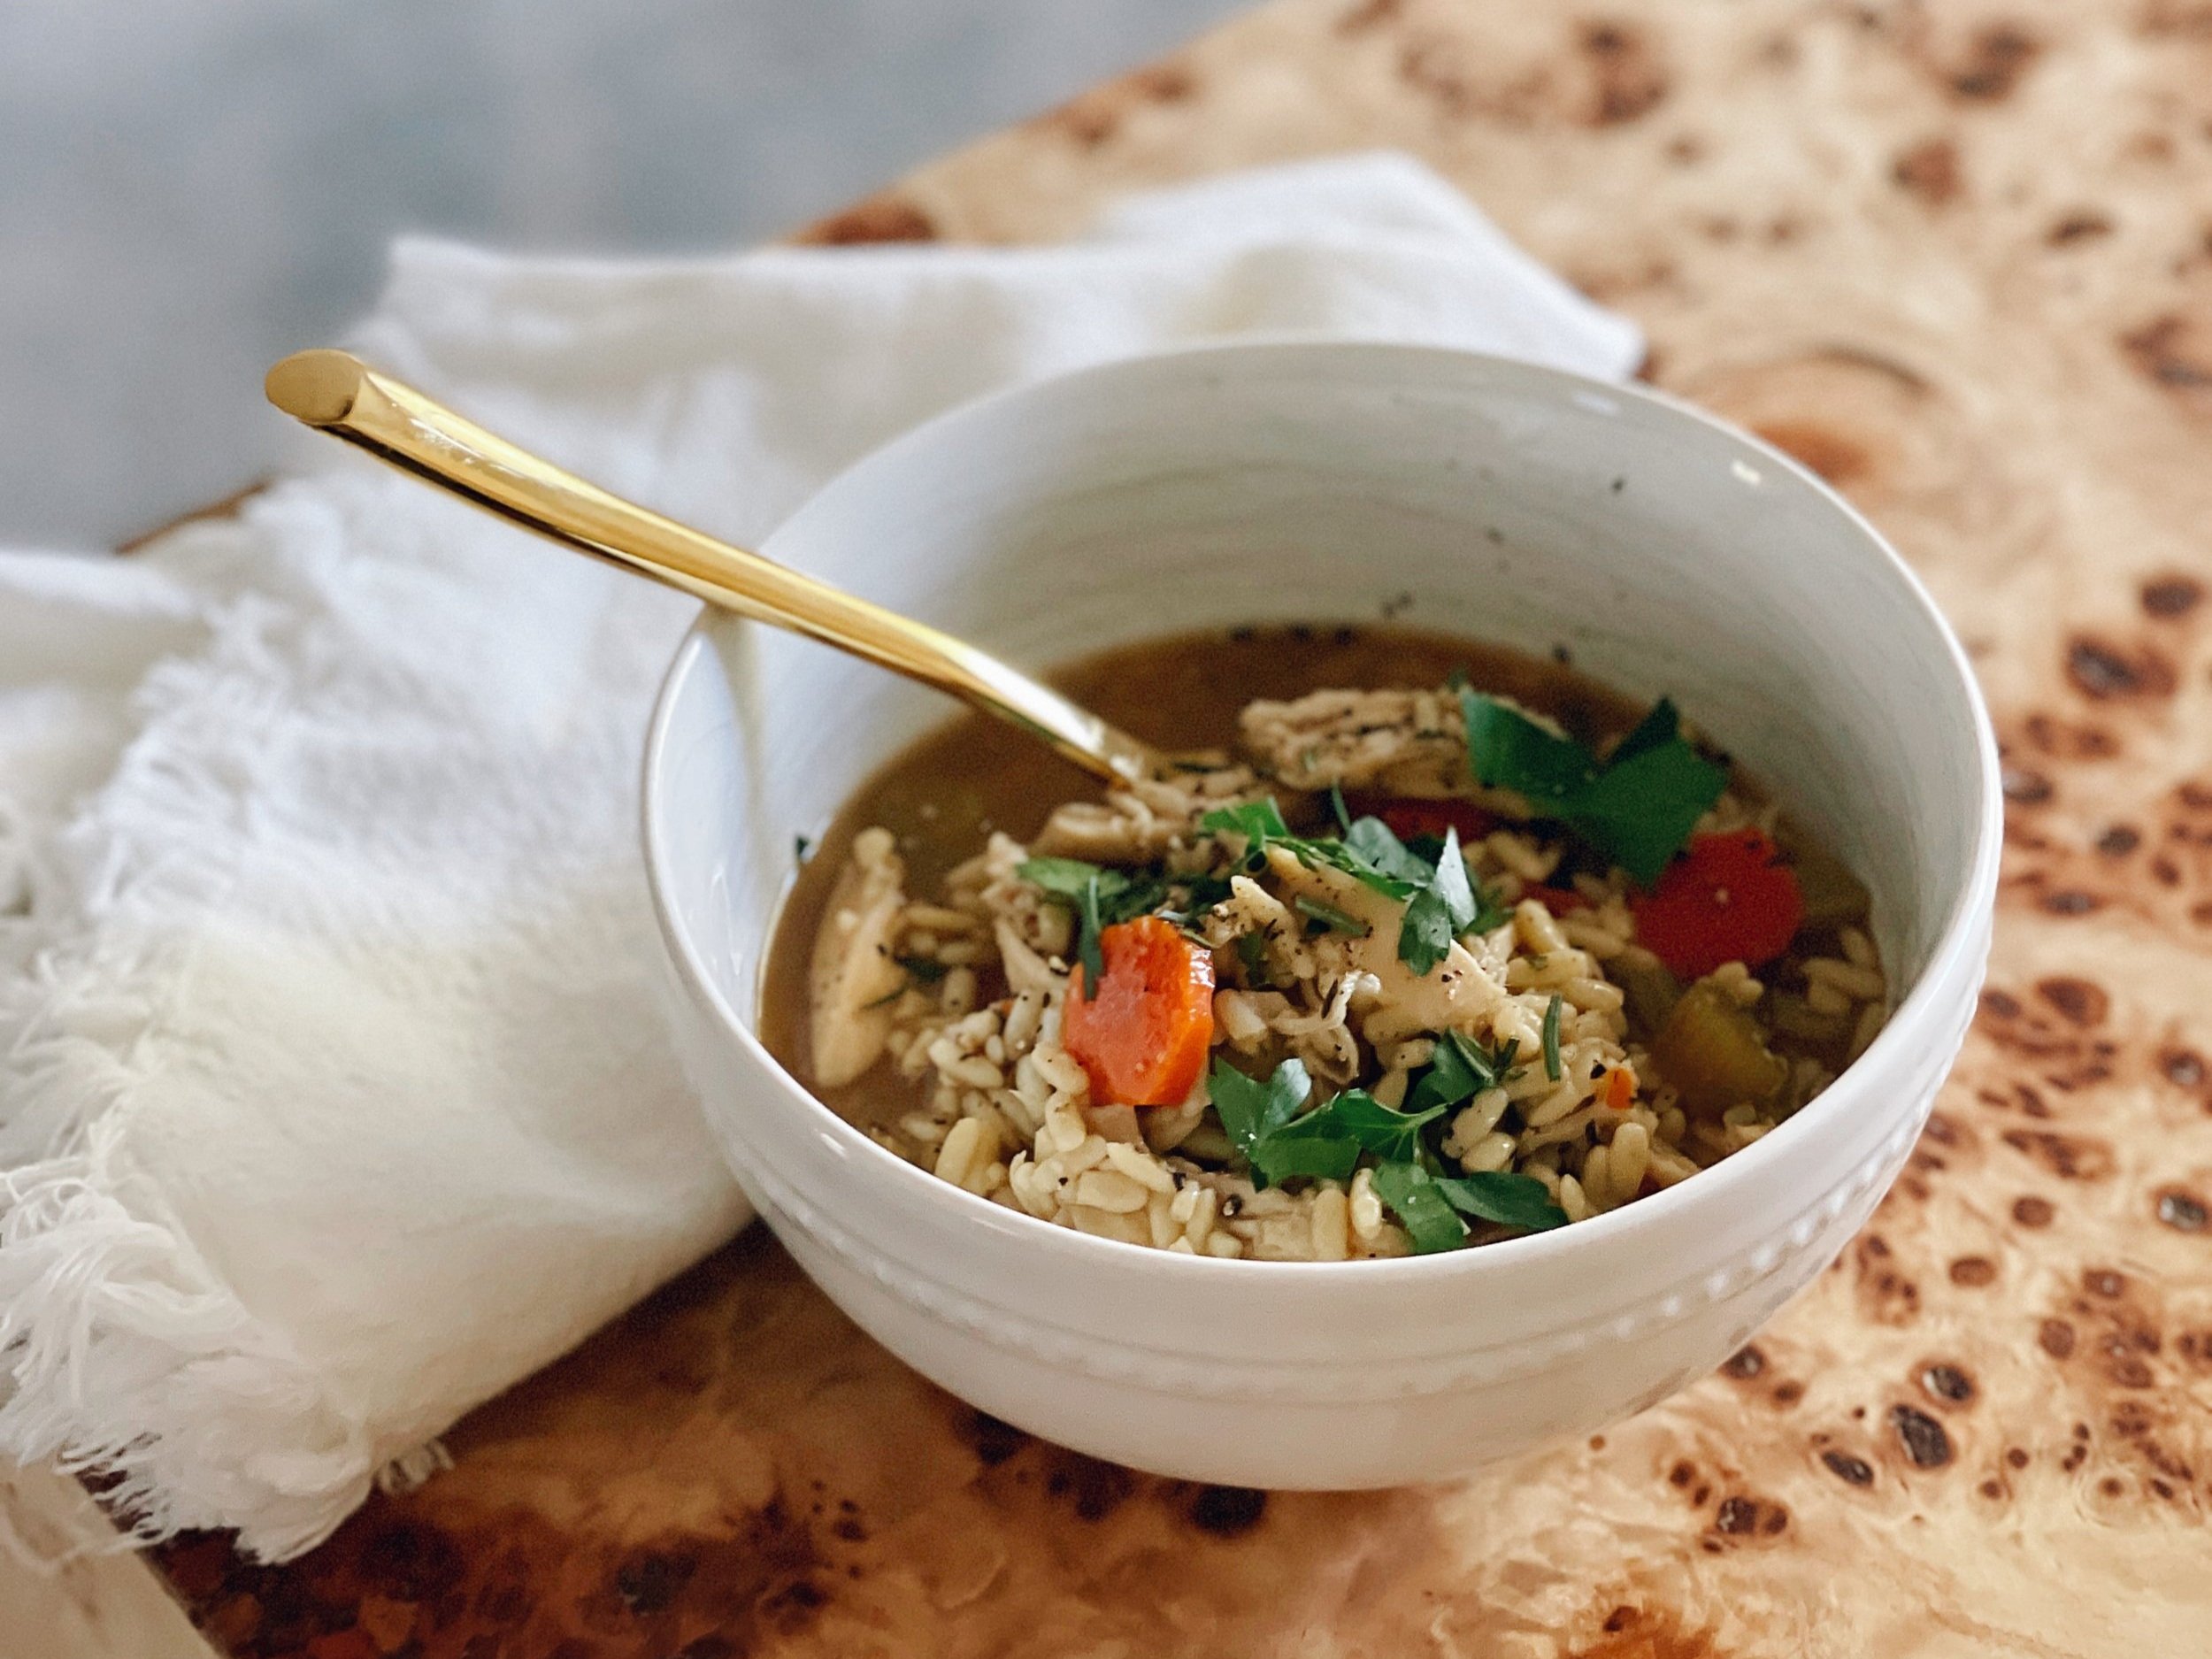
Crock-Pot Chicken & Right Rice Soup
/
Like a 45-year-old mom, I love a crock-pot meal. This Chicken & Right Rice soup as SO much flavor for being a simple crock-pot soup. I love how the Right Rice is a nod to the texture of noodles in chicken noodle soup and the shape of rice like in chicken & rice soup. It’s hearty, grain free, and has great protein from the chicken and bone broth. Enjoy!
Crock-Pot Chicken & Right Rice Soup
yields 4-5 servings
Ingredients:
1 lb chicken breasts
1 cup carrots, chopped
1 cup celery, chopped
2 cloves of garlic, minced
4 cups chicken bone broth (stock or regular broth will do)
3/4 cup original Right Rice*
salt and pepper
1/4 cup of fresh Italian flat leaf parsley, chopped
1-2 springs fresh rosemary, chopped
parmesan rind if you have one
Directions:
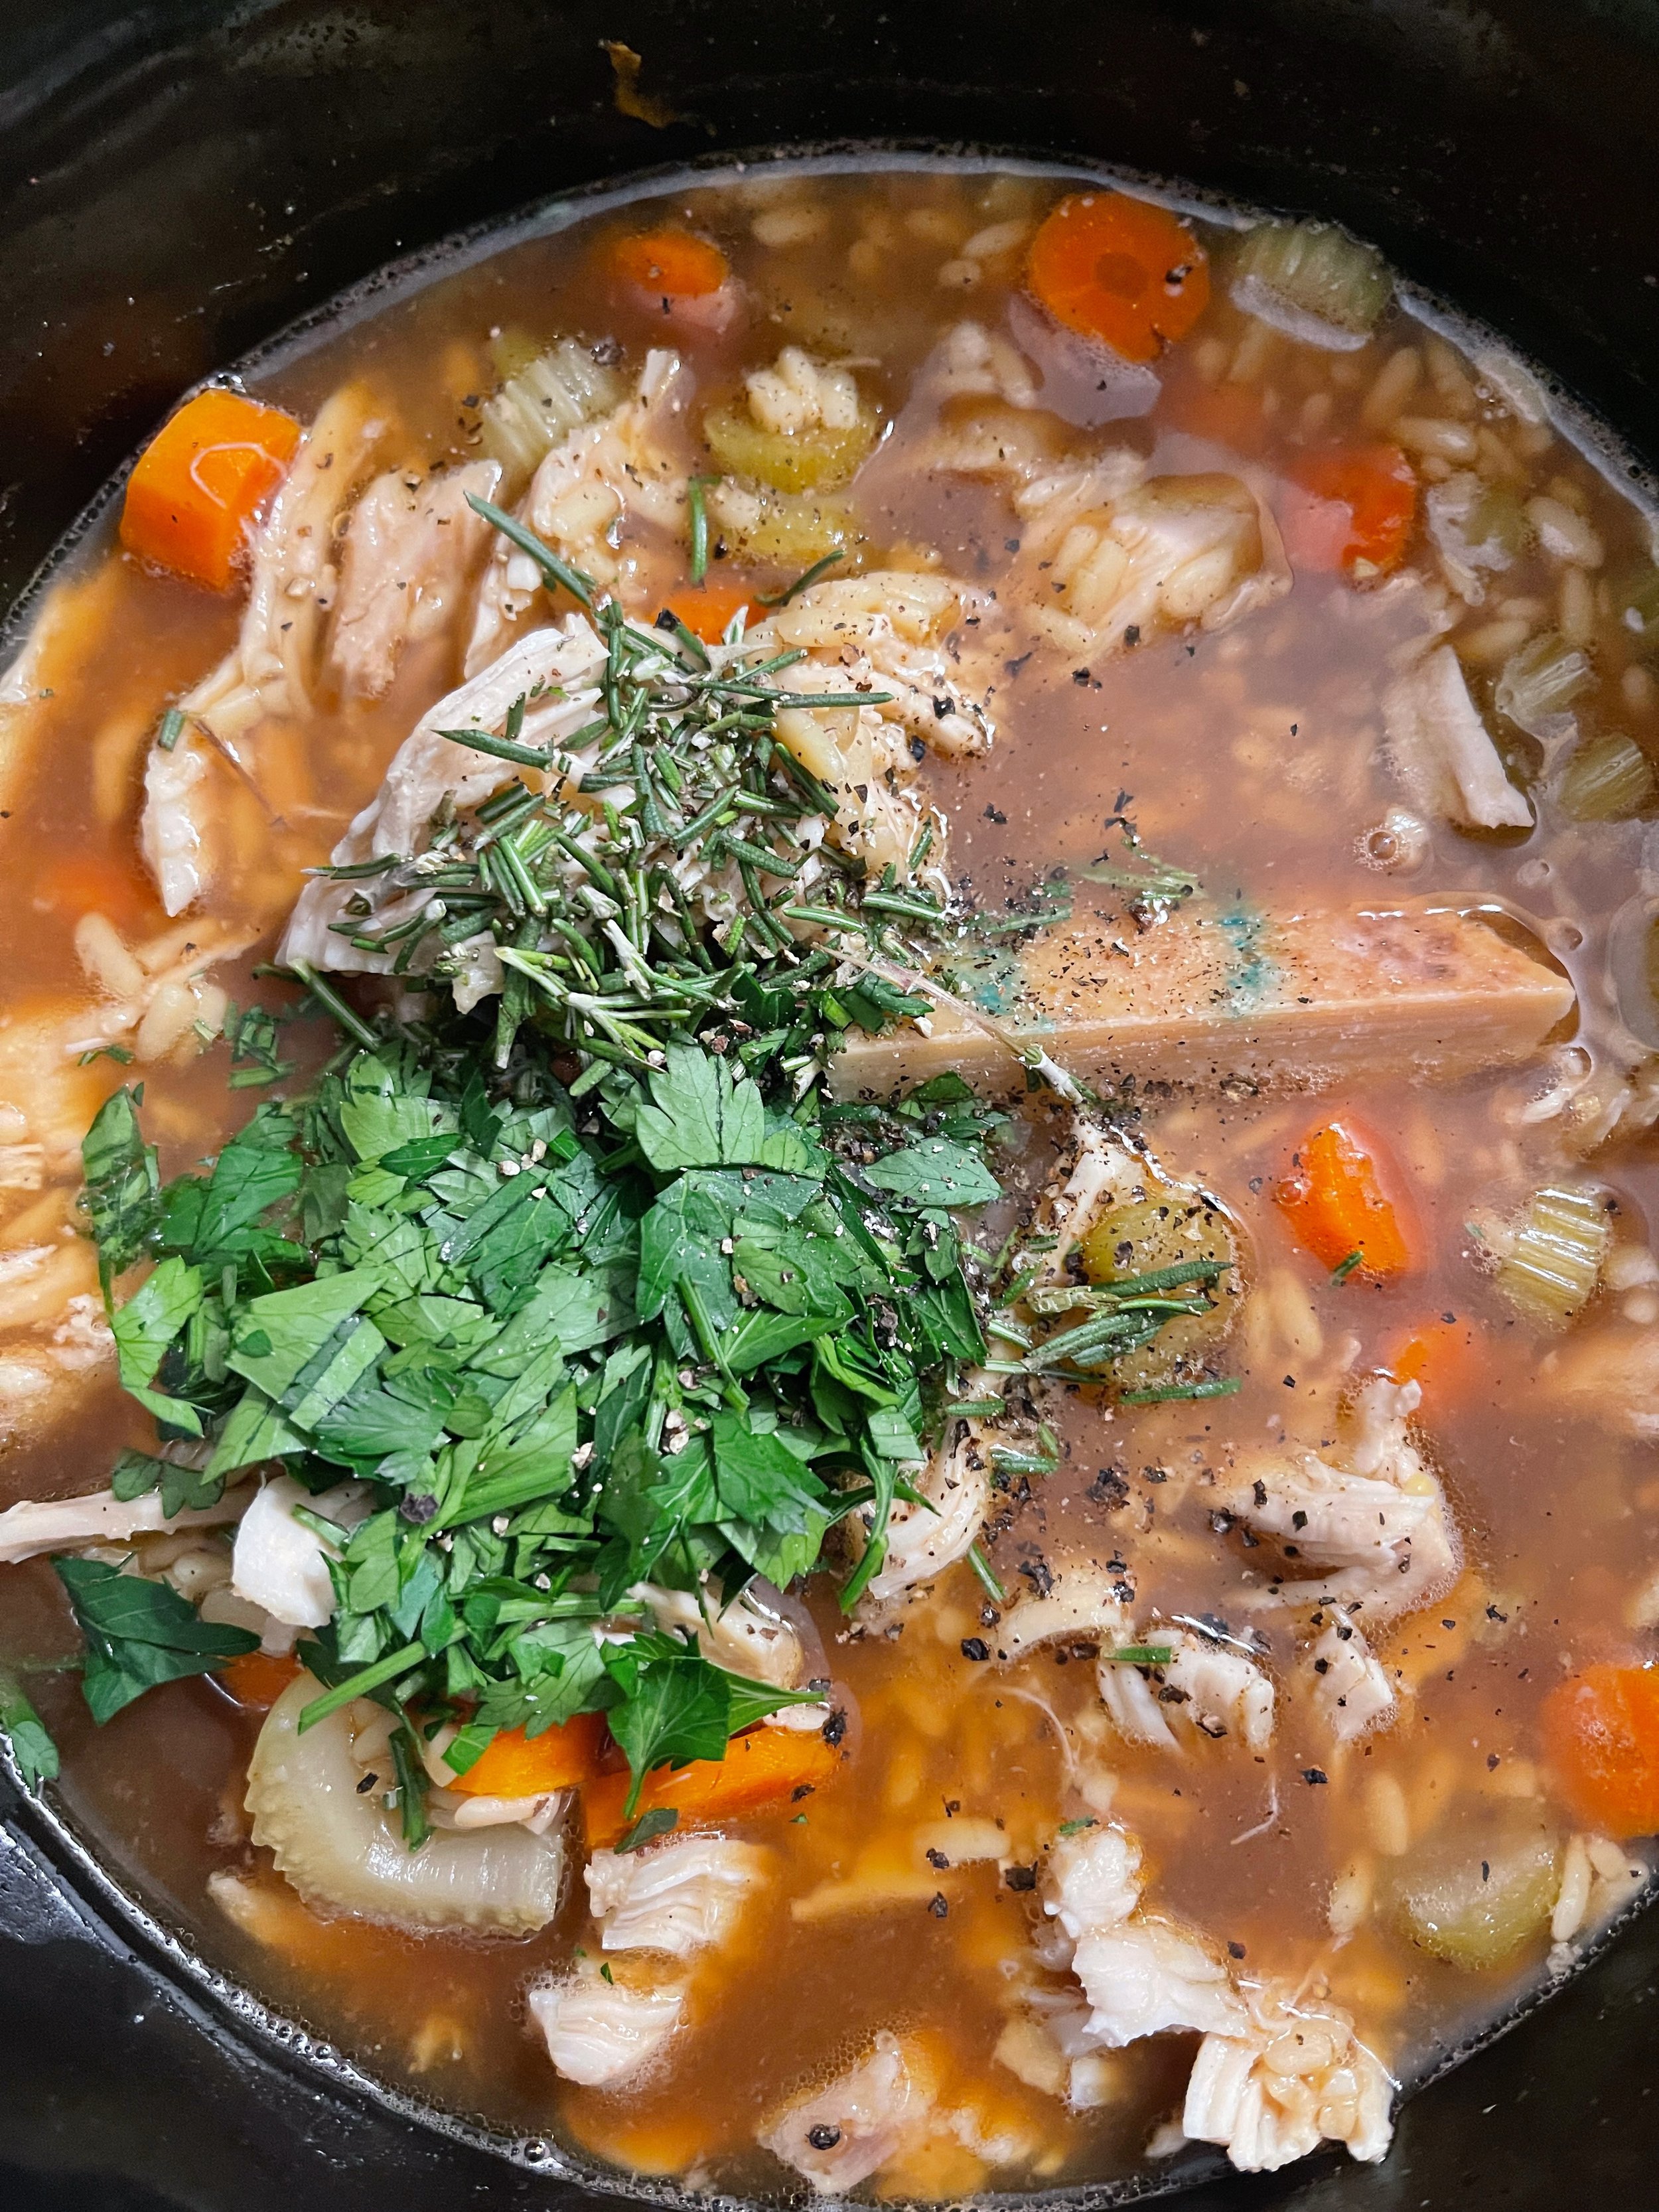
Lightly coat your crock-pot with a nonstick spray. Arrange the chicken breasts along the bottom of your pot. Add the carrots, celery, and garlic on top. Season with salt and pepper. Pour in 4 cups of chicken bone broth. Note, your rice will go in later.
Cover and cook on low for 4 hours or high for 2 1/2 hours. After the initial cooking, add the 3/4 cup of dry, uncooked Right Rice, 2 tbsp. parsley and 1 tbsp. rosemary, and continue to cook for 2 hours on low or 1 hour on high**. If you have a leftover parmesan rind, now is the time to add it. The parmesan rind gives it an extra level of flavor, but is not necessary!
After the cooking time, remove the chicken from the crock-pot and place it on a plate or cutting board. Using two forks, shred the chicken and then place it back in the crock-pot. Add additional broth or water if your soup has over thickened from the Right Rice.
Ladle into bowls and garnish with a sprinkle of remaining parsley, rosemary, and fresh cracked black pepper. The soup is good to last in the fridge for up to 5 days.
*The Right Rice can be substituted for brown rice, orzo, or Israeli couscous.
**Cooking times are relative to how hot your crock-pot cooks. I prefer cooking on high for a shorter amount of time. 3 1/2 hours of total cooking time was perfect for me! Check your chicken occasionally to make sure you aren’t overcooking it.

Annie