Let's Jam

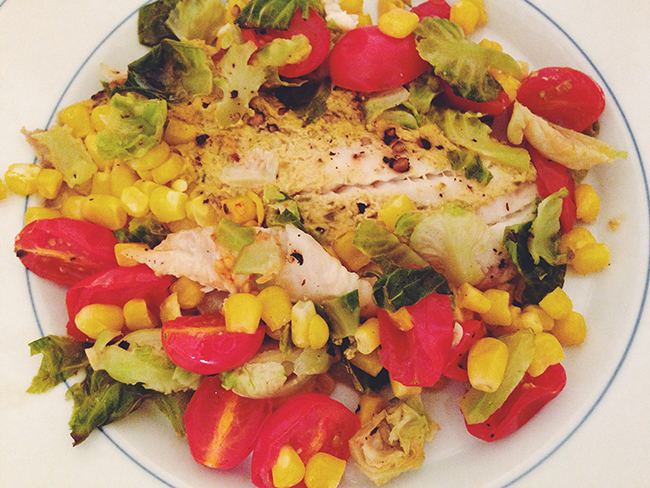
Bring on the soup, stew, chili and now, jambalayaaaa! My favorite kind of foods. I tried to convince my family to let me make this jambalaya back when it was still hitting 100, they didn't go for it.  Now that it's relatively chilly most days, I jumped on my chance again. 

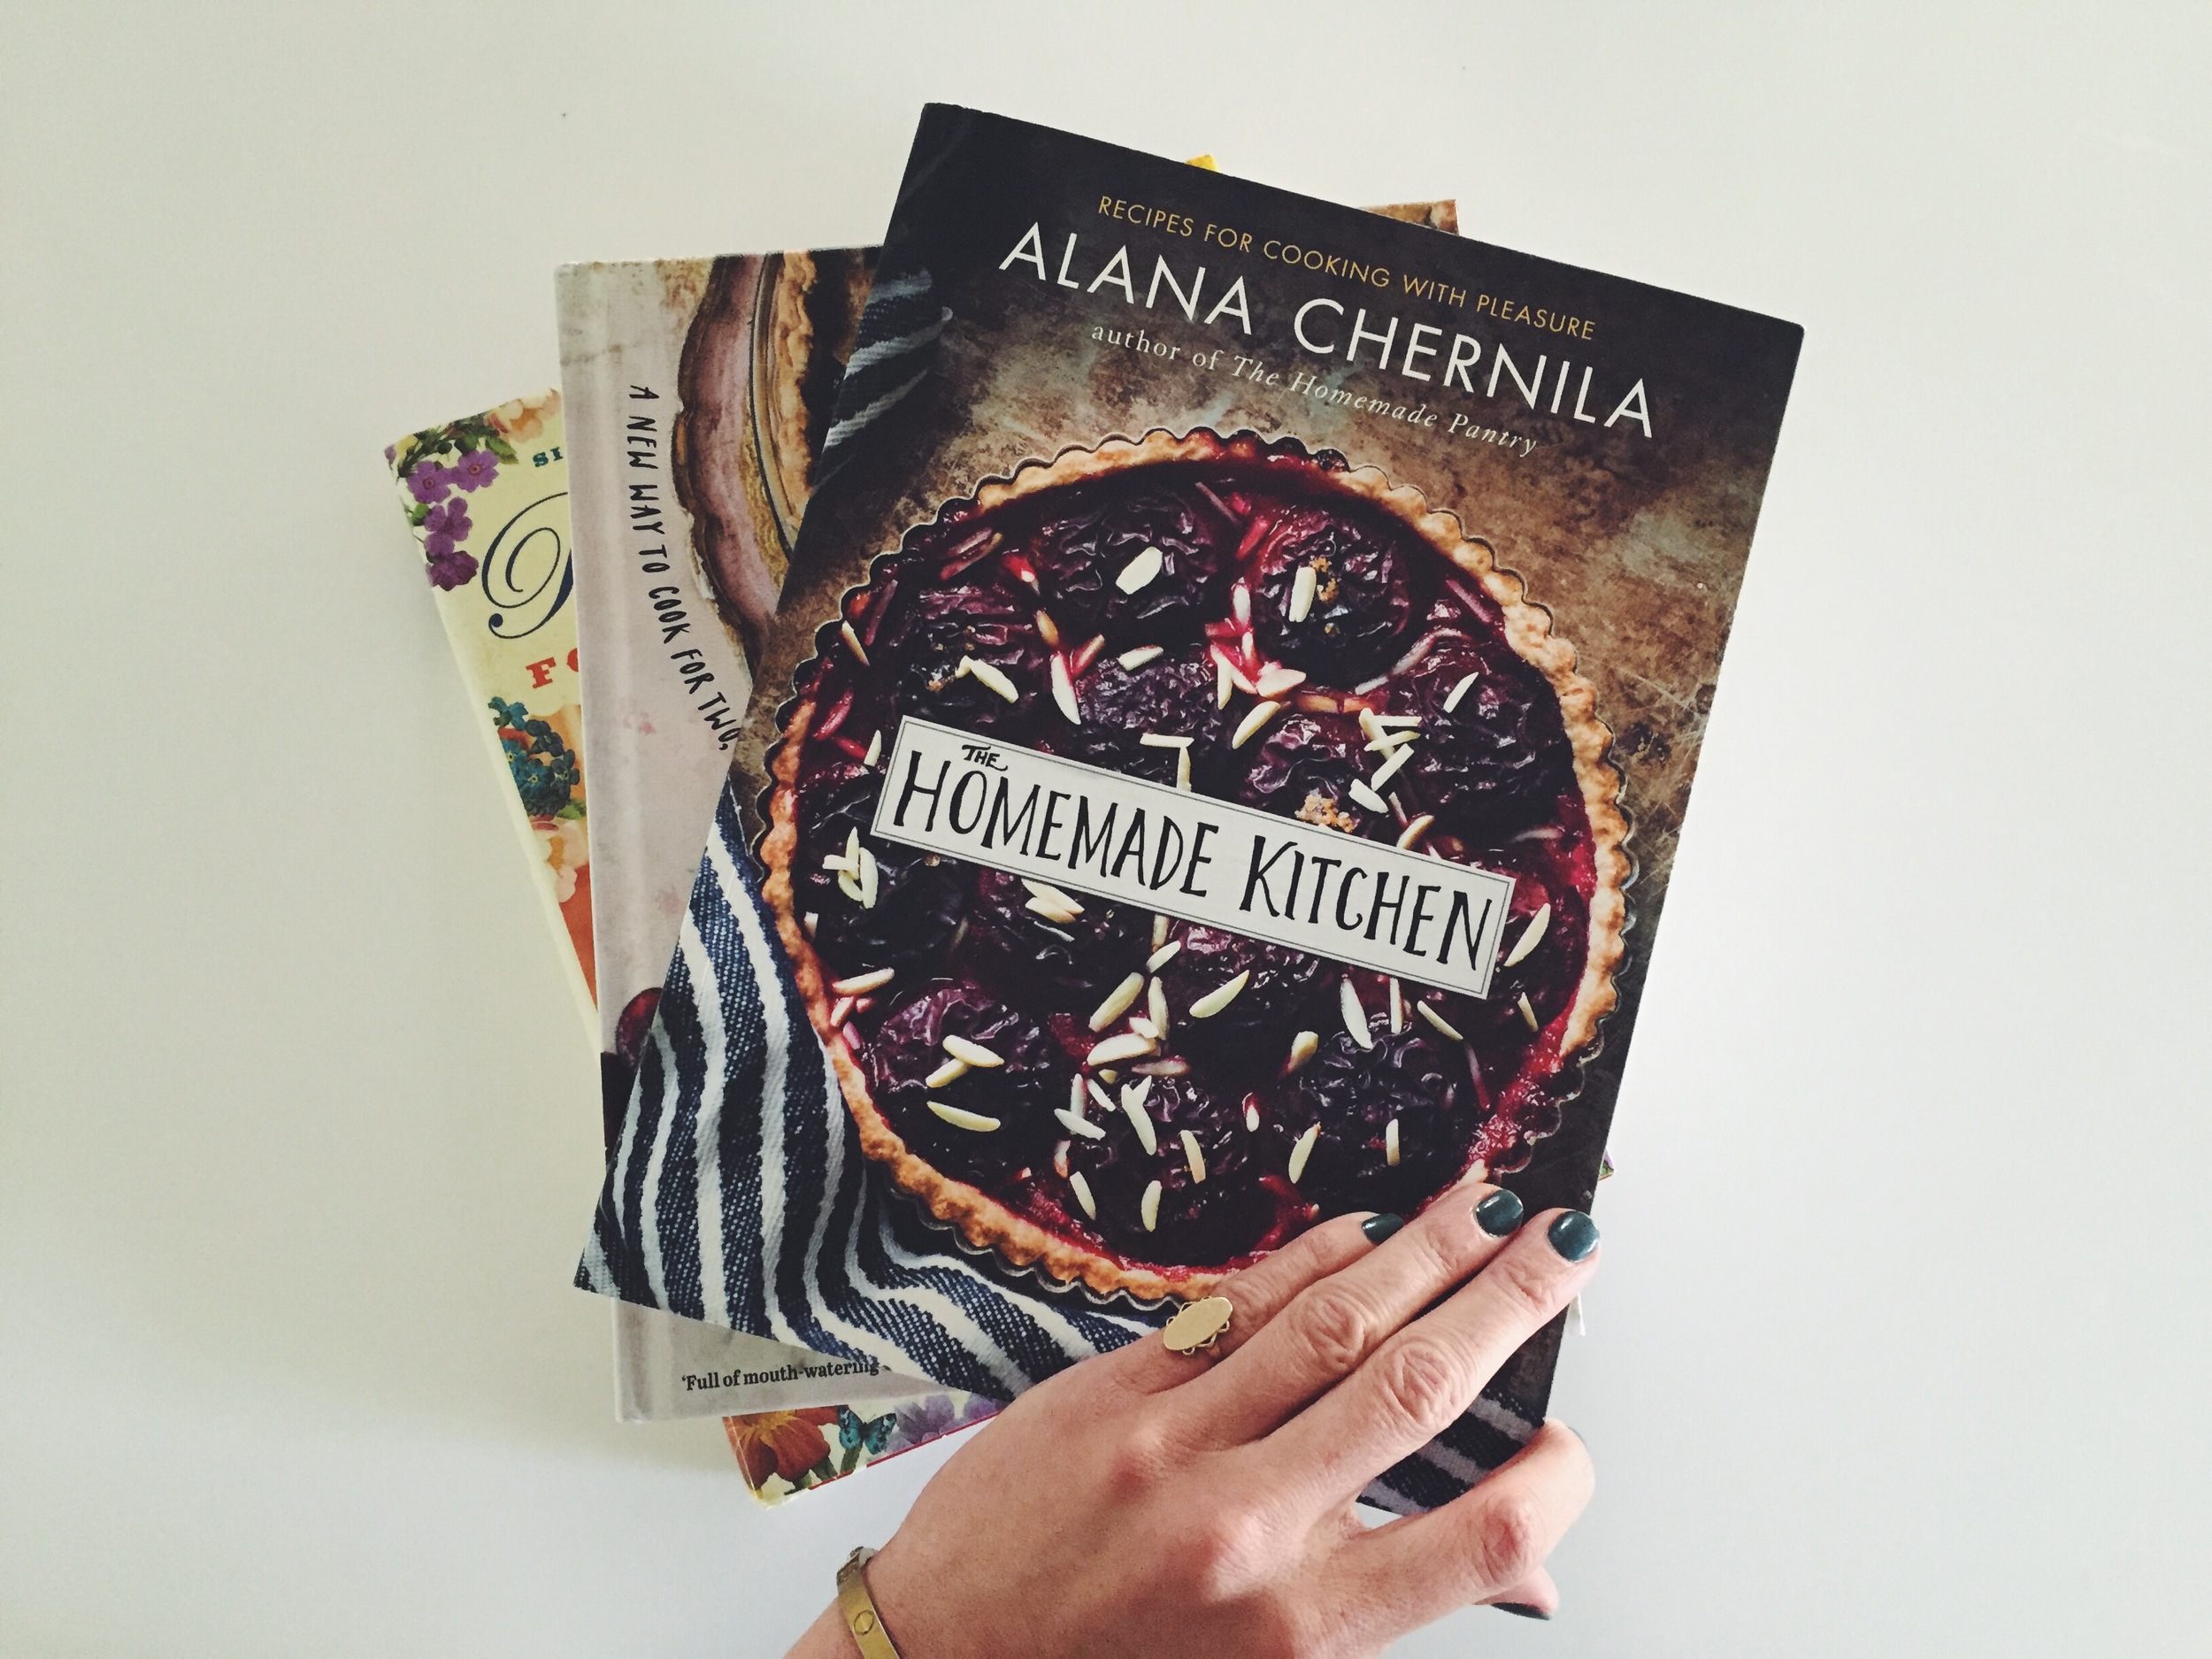
Alana from Eating From The Ground Up is the mind behind my new cookbook, The Homemade Kitchen. The book is stocked with recipes using fresh and delicious ingredients. This is one of my favorite Blogging for Books cookbooks I have received. I love how real the recipes are. No crazy ingredients, nothing too fussy. Alana has specific mantras she lives by while in the kitchen. Feed yourself, eat outside, start where you are, be a beginner, and more. My favorite is "do your best and then let go."

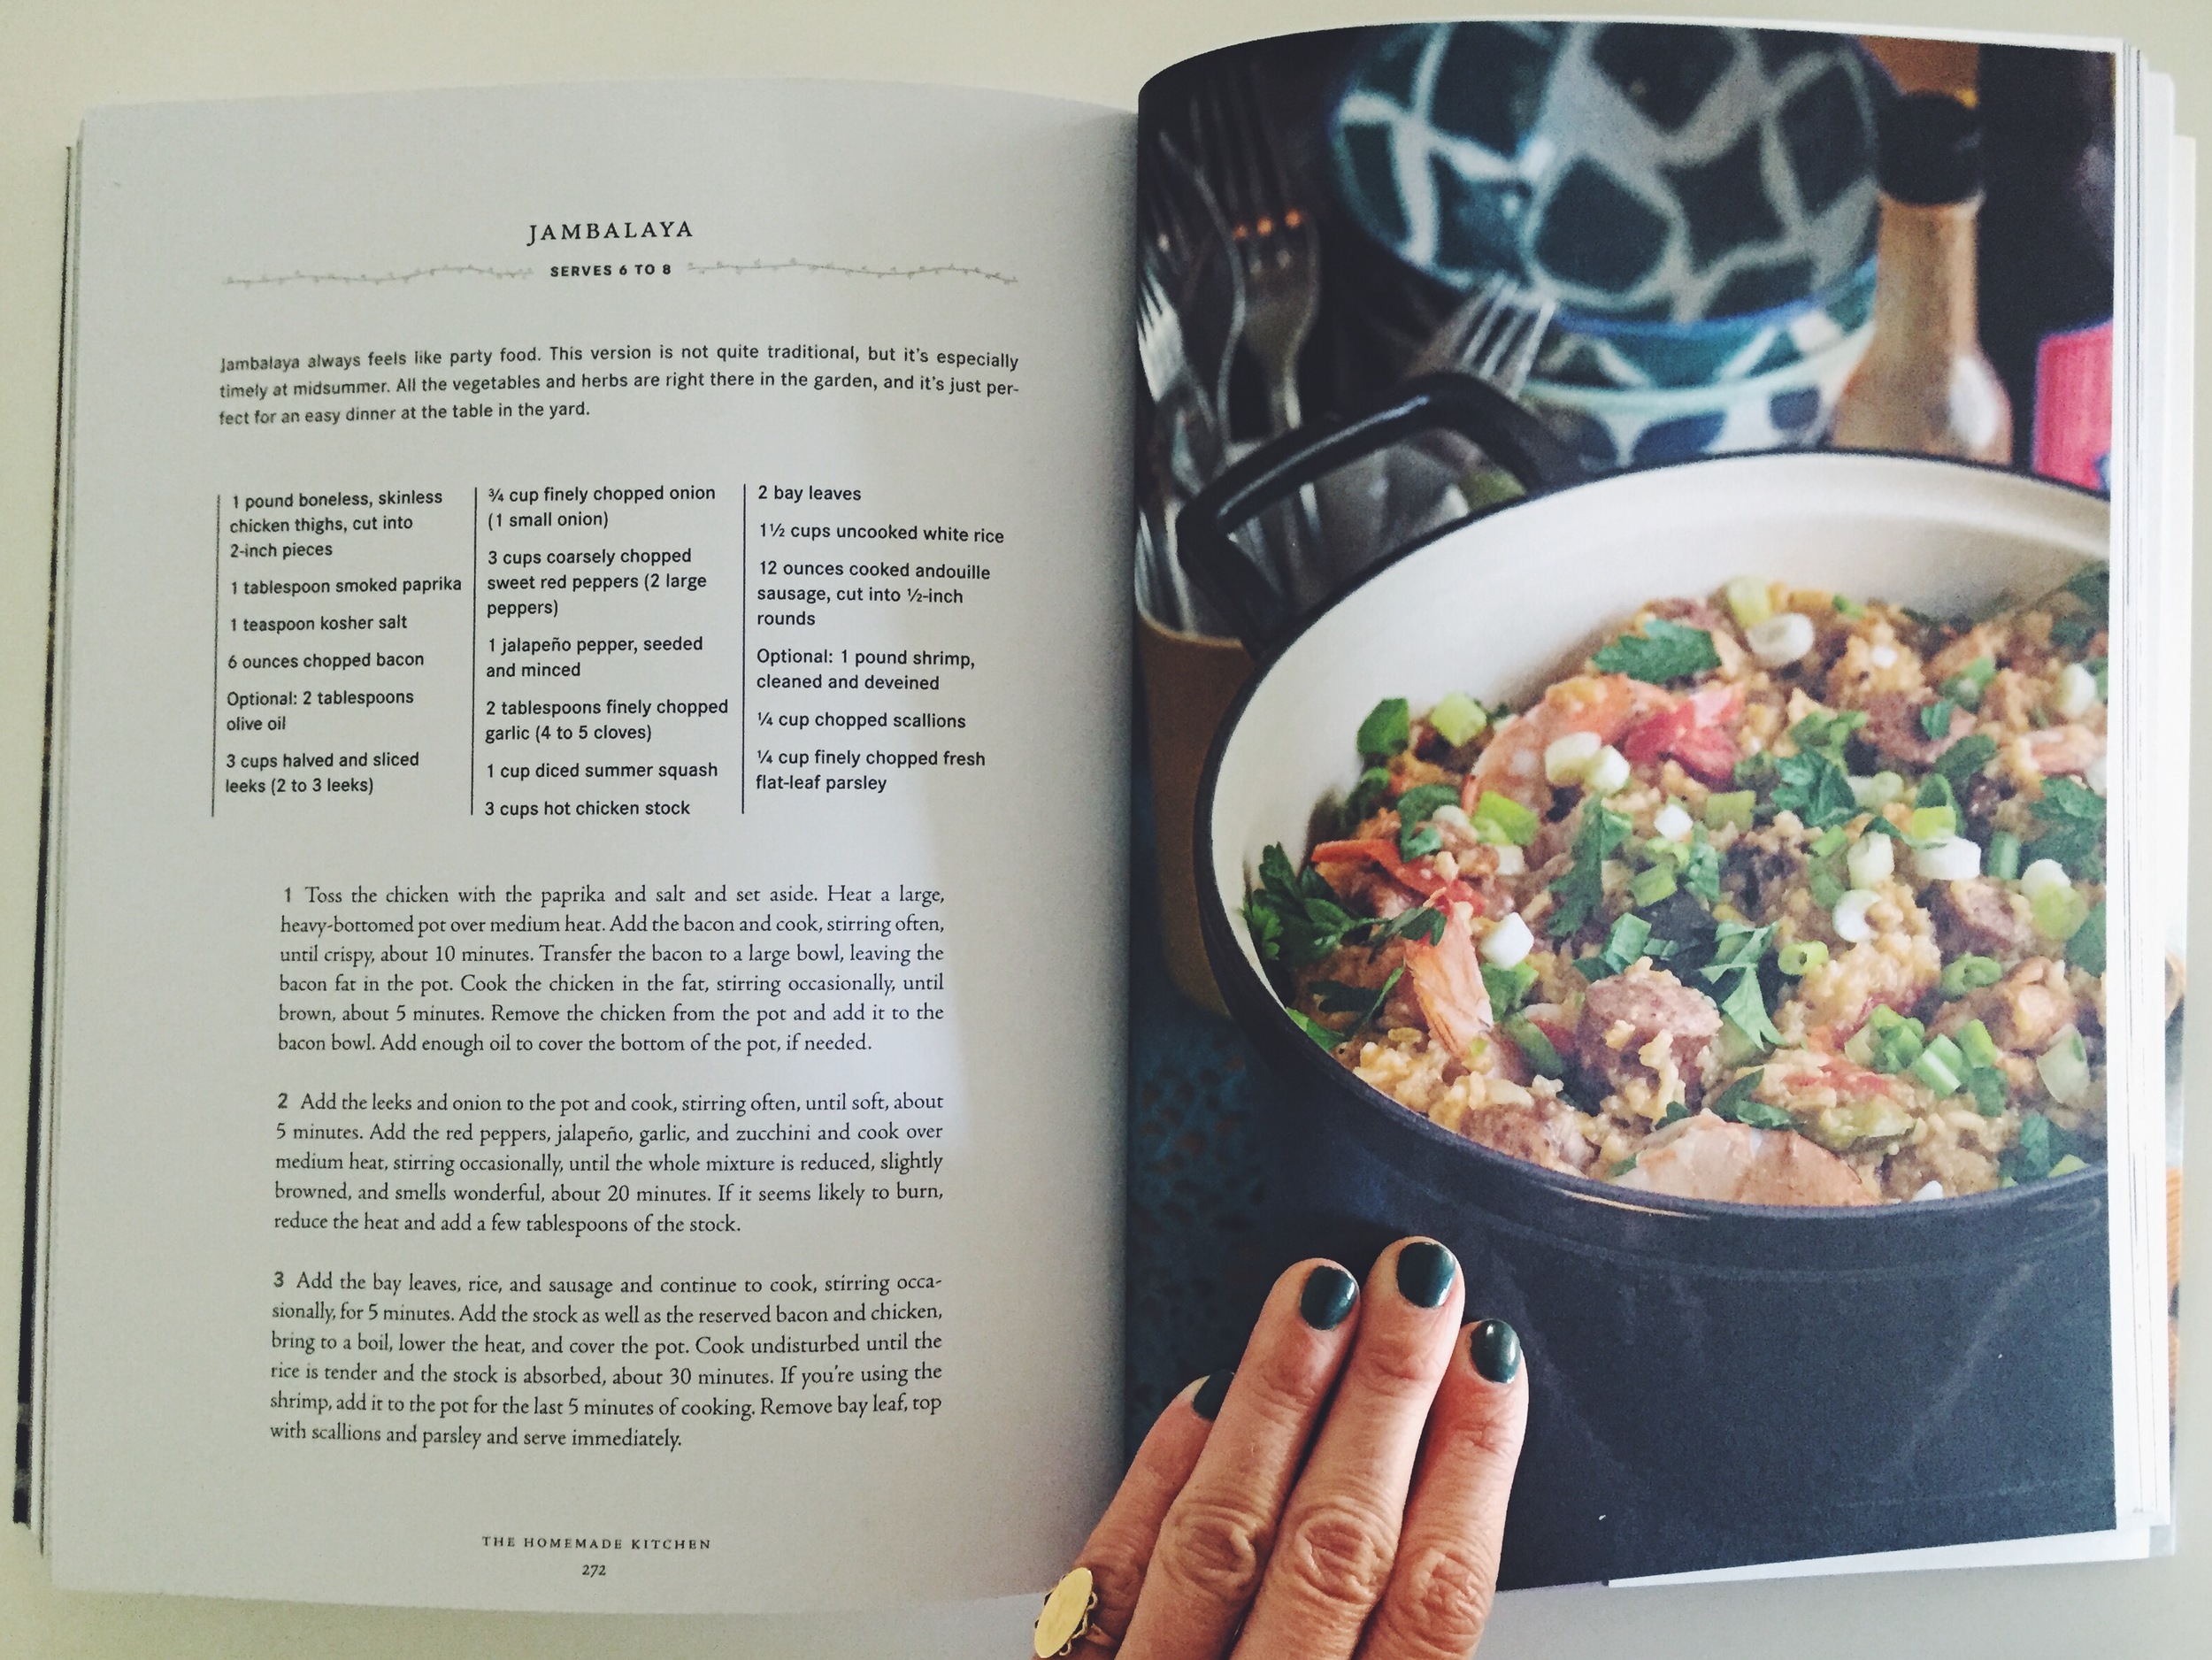
Jambalaya from The Homemade Kitchen
serves 6-8

Ingredients:
1 lb. boneless, skinless chicken breast, cut into 1-inch pieces
1 Tbsp. paprika
1 tsp. salt
6 oz. chopped bacon
2-3 leeks, cut in half and thinly sliced
3/4 cup finely chopped yellow onion (1 small onion)
2 large red bell peppers, chopped
1 jalapeno, seeded and diced
2 Tbsp. finely chopped garlic
3 cups hot chicken stock
2 bay leaves
1 1/2 cup uncooked rice
12 oz cooked, andouille sausage, cut and cooked into 1/2-inch rounds
1 lb. fresh shrimp, peeled and deveined
1/4 cup chopped scallions
1/4 cup finely chopped flat-leaf parsley

Directions:
Toss the chicken with the paprika and salt and set aside. heat a large heavy-bottomed pan over medium heat. Add the bacon and cook, stiffing often until crispy about 10 minutes. Transfer the bacon to a medium bowl, leaving the bacon fat in the pot. Cook the chicken in the fat, stirring occasionally until brown, about 5 minutes. Remove the chicken from the pot and add to the bacon bowl. 

If you don't have enough bacon grease leftover, add oil to cover the bottom of the pan. Add the leeks and onion to the pot and cook, stirring often, about 5 minutes. Add the red peppers, jalapeno, garlic and cook over medium heat. Stir occasionally until the whole mixture is cooked down, slightly brown and smells delicious.

Heat your stock in a medium sauce pan over medium-high heat. Add the bay leaves, rice and sausage and continue to cook, stirring occasionally for about 5 minutes.  Add the hot stock as well as the reserved bacon and chicken, bring to a boil, lower the heat and cover the pot. Cook undisturbed until the rice is tinder and the stock is mostly absorbed, about 30 to 45 minutes. It may take longer depending on your rice. If you are using shrimp, add it during the last 5 minutes of cooking. Once the shrimp is pink, remove the bay leaves, top with scallions and parsley and serve immediately. Best with with a little hot sauce and some cornbread!

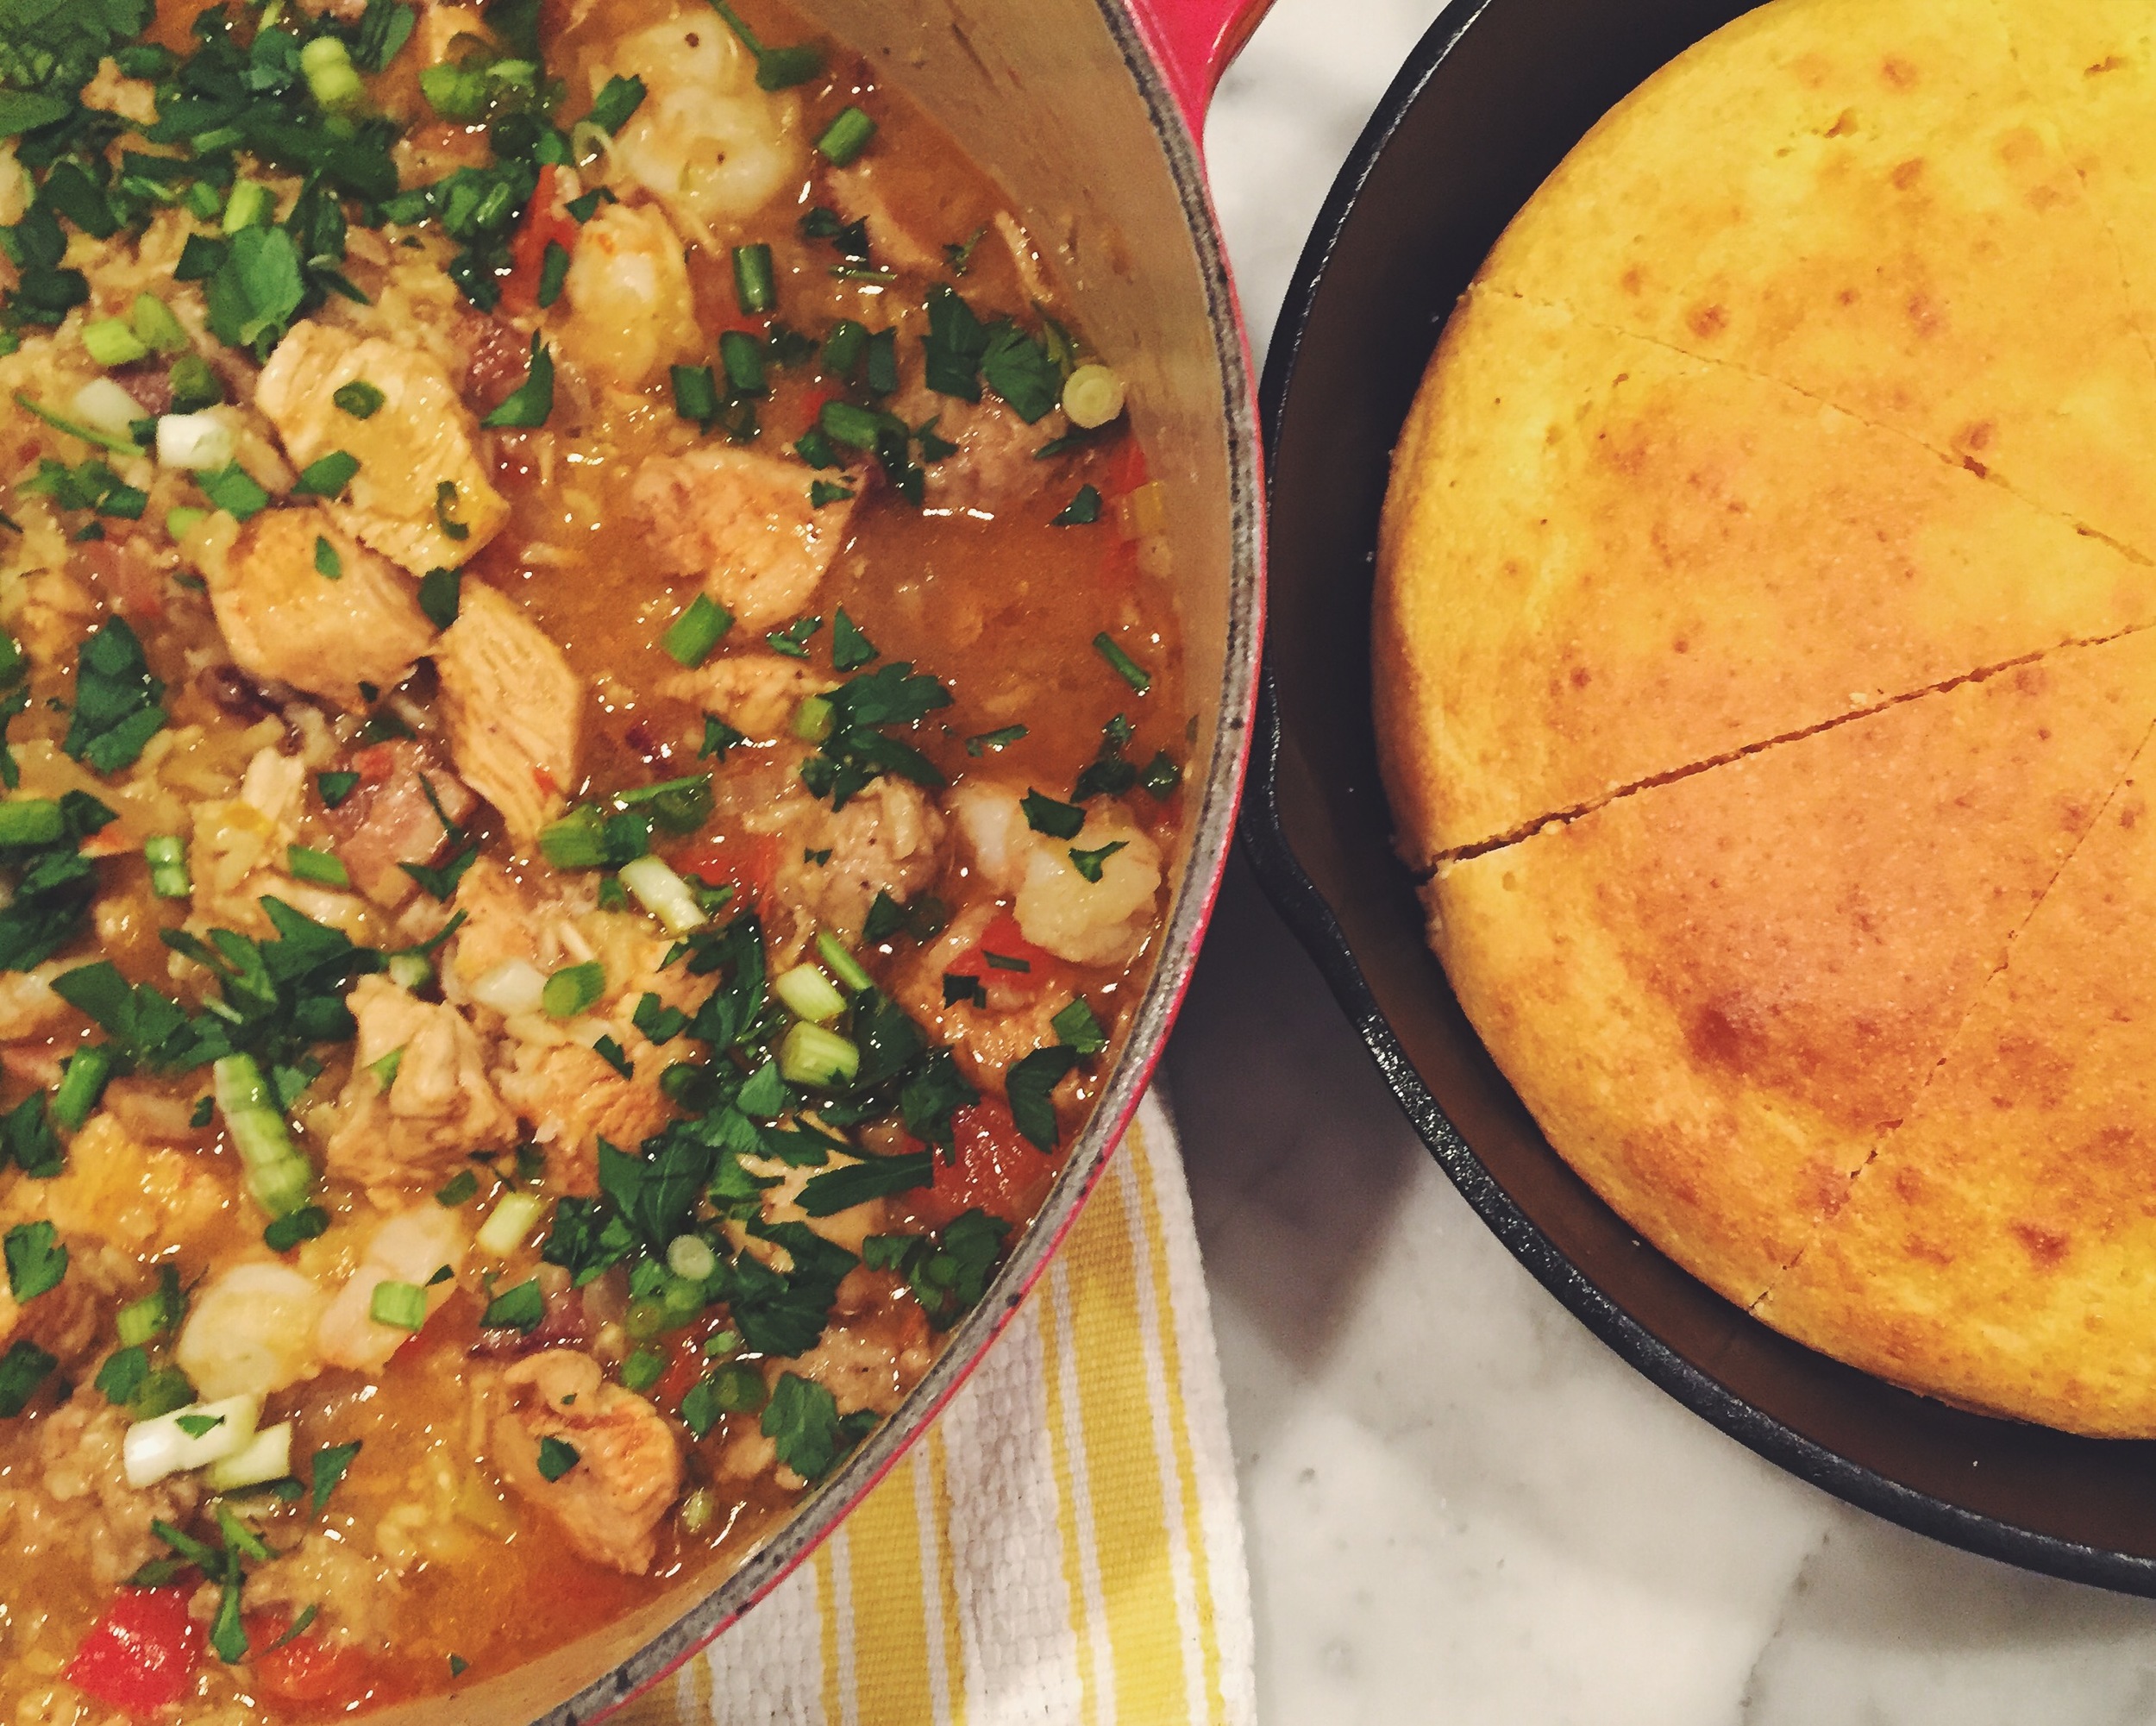
I got a little frustrated while I was cooking this dish because the rice wasn't cooking, and it was taking much longer. I tend to get flustered when I'm cooking for others. With a little patience I finally got it finished. I wish I had Alana with me saying, "do your best and then let go." Once the dish got to the table everyone loved it. 

You can purchase The Homemade Kitchen here and make sure to check out Alana's blog for more of her recipes!
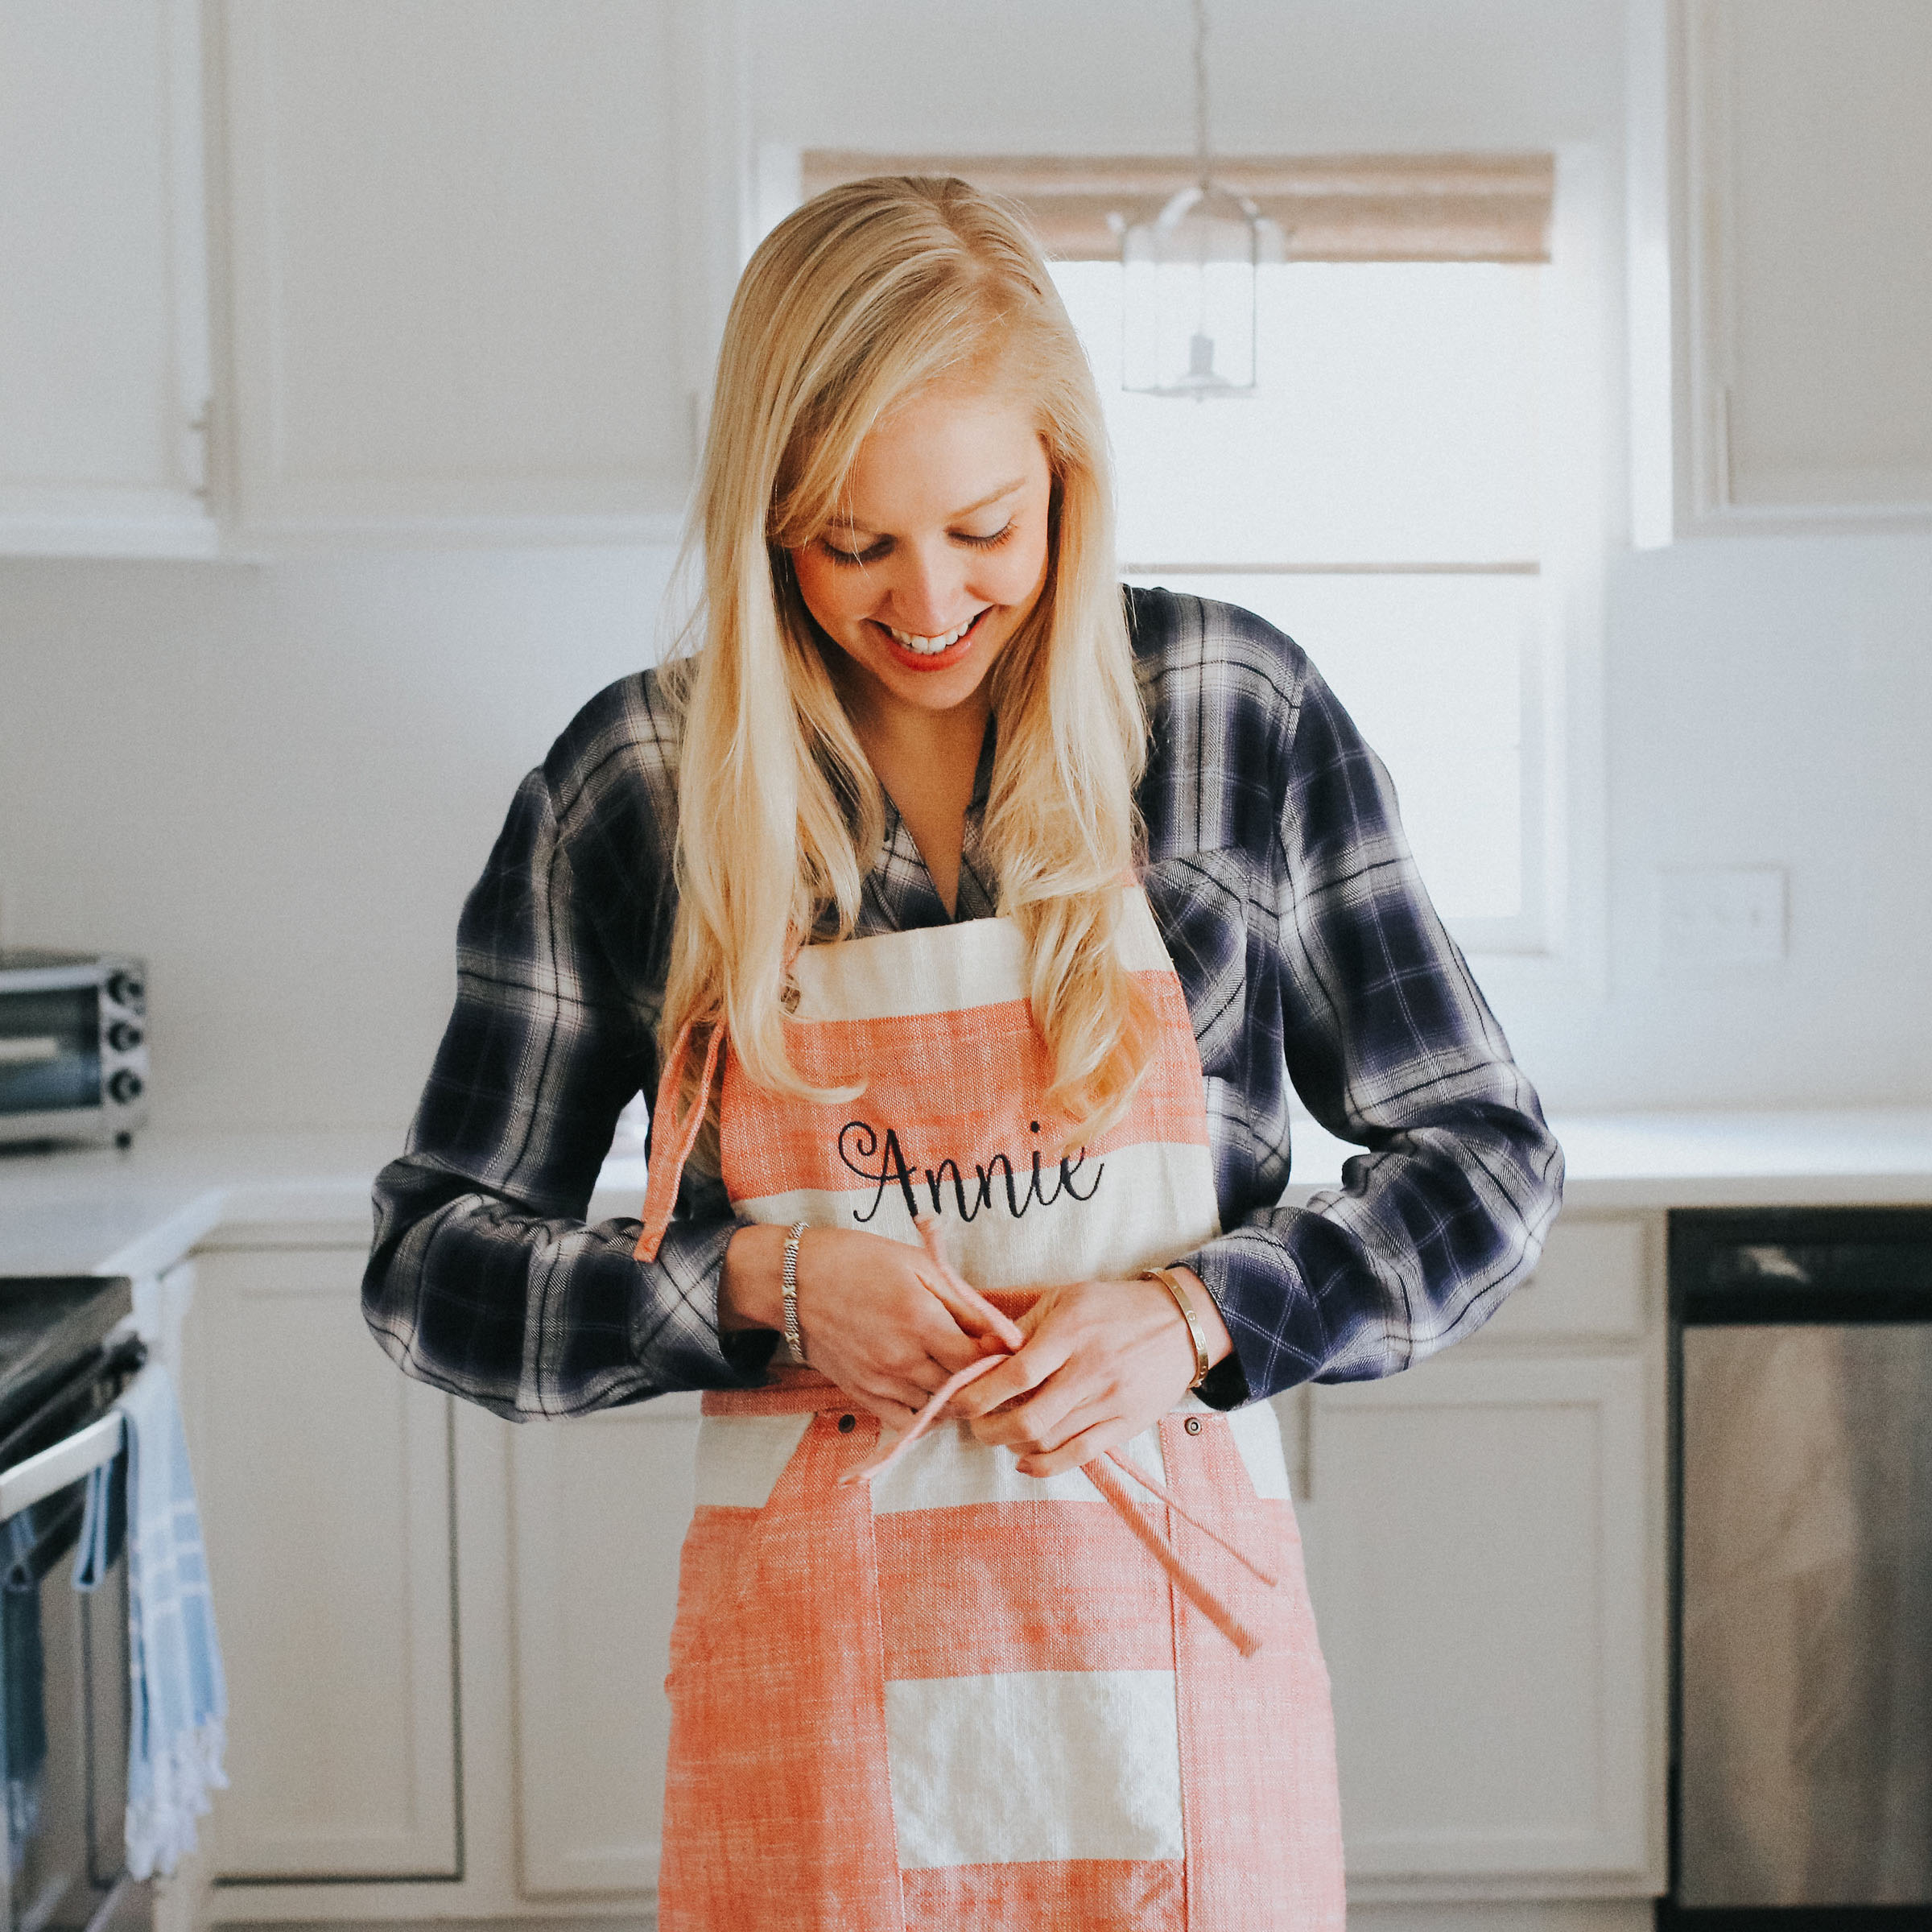
Annie

I received this book from the Blogging for Books program in exchange for this review. If you are a also a blogger make sure to check out their site on how you too can start Blogging for Books!

Upside Down Pumpkin Crumb Cake

Between all of our back and forth emails and texts about implementing MailChimp, importing Disquis, editing URLs and formatting posts, Peyton and I exchanged a few non-blog related conversations. She told me she had a great recipe for me if I wasn't pumpkin-ed out yet. Pumpkin-ed out, ha never. This recipe is decades old and comes from an old church cookbook of her mom's. All good recipes derive from some old church pot-luck party.

I made this cake to pair with Sunday night dinner. And it's just like oh so dang amazing. I think it even converted my brother-in-law into a pumpkin fan. He says he doesn't like "orange food"... we don't claim him sometimes. Pumpkin, sweet potatoes and butternut squash are all very important foods in my life. 

The whole cake gets flipped over making the buttery pecan crumb layer the base. The pumpkin cake layer gets sandwiched in the middle and is almost like a layer of pumpkin pie. Slap on cream cheese whipped frosting and you've got a cherry on top. This cake is getting put in the repeat recipe box ASAP.

Upside Down Pumpkin Crumb Cake
yields 1 9x13 cake

Ingredients:
1 can of pumpkin puree
1 can of evaporated milk
1 cup sugar
1/s tsp. cinnamon
3 eggs
1 box yellow cake mix
1 cup chopped pecans, plus more for decoration
2 sticks melted butter, cooled

Frosting:
1 8oz stick of cream cheese, room temp
3/4 cup Cool Whip, thawed
1 1/2 cup powdered sugar

Directions:
Preheat oven to 350 degrees. Line a 9x13 dish with wax paper. Melt your butter and set aside to let cool. Whisk the first five ingredients together and pour into your dish. Evenly distribute the dry cake mix over the pumpkin mixture. Sprinkle in the chopped pecans and lightly pat them into the cake mix. Pour your cooled butter over the nuts then bake for 50-60 minutes. Let cool. 

Using an electric mixer combine the frosting ingredients. Once the cake is cooled, run a knife along the edges. Invert on to a tray and remove the wax paper. The crumb part will now be on the bottom. Frost and decorate with pecans!

Thumbs up to upside down pumpkin crumb cake!

Annie

The Recipe That Defines Me

Today is big. Today is very big. I'm sharing my top secret recipe for my signature sugar cookies. These cookies are the first thing I can remember fully making from start to finish on my own. I've been baking them up since I was 7! The recipe has evolved a bit over the years but the flavor remains true. 

I've made these for school parties, for friends, every year for santa, for sorority recruitment, and most recently for game day! My favorite memory is when I made them for my 4th grade Valentine's Day party in Mrs. Rains class. I spent probably 5 hours making them, but I refused to have any help. I proudly went to school with my sprinkle covered heart shape cookies with my hands completely died red and pink from the food coloring! 

Sugar cookies are completely underrated in my opinion. If someone were to ask me what my favorite kind of cookie was I'd say sugar cookies. If someone were to ask me to what my favorite thing to bake was, I'd say these sugar cookies. They are oh so special to me and my favorite things in the world! I posted about them when I first started blogging, but I wasn't ready to give away the recipe. I've matured since then and realized all good things should be shared. And not to mention my old post is so tragic it's embarrassing and had to be re-done.  

What makes these cookies so good are two secret ingredients. Are you ready? A little orange zest in the cookies and almond extract in the icing is what sends them over the edge. Follow below for some detailed instructions on how to make these perfect sugar cookies. 

Signature Sugar Cookies
yields 2 dozen cut out cookies
prep 15 minutes, cool 1 hour, decorate 30 minutes

Cookie Ingredients:
3 cups of flour
3/4 tsp. of baking powder
1/4 tsp. salt
1 cup unsalted butter, softened
1 cup sugar
1 egg beaten
1 Tbsp. milk
1 tsp. vanilla extract
1 tsp. orange zest
powdered sugar for rolling out

*Icing Ingredients:
3 cups powdered sugar
3 Tbsps. meringue powder
10 Tbsps. warm water
1 tsp. almond extract
food coloring and sprinkles to decorate

Directions for the cookies:
In a large bowl, combine flour, baking powder and salt then set aside. In the bowl of an electric mixer, beat softened butter and sugar until a light pale color. Add the egg, milk, vanilla and orange zest and beat to combine. Place your mixer on low and gradually add your dry ingredients until the dough forms. Divide the dough in half, wrap in saran wrap and refrigerate for 1 to 2 hours. Or for the impatient, place in the freezer for 30 minutes.

Preheat your oven to 375 degrees. Line two baking sheets with parchment paper or grease with cooking spray. Sprinkle your work space and rolling pin with powdered sugar. Using one wrapped package of dough at a time, begin to roll out into about 1/4-1/2 thick. Occasionally move the dough around to make sure it's not sticking. Cut out desired shapes and bake for 6-8 minutes or until just lightly brown around the edges. Let sit and cool on the baking sheets for a few minutes before you transfer them to a cooling wrack. Cookies must be completely cool before you ice them. I often stick them in the freezer to really firm them up!

Directions for icing and decorating:
To make your icing, combine powdered sugar, meringue powder, almond extract and warm water in your electric mixer fitted with the whisk attachment. Beat for 8 minutes on low, scraping the sides occasionally. Your icing should be the consistency of glue. Divide into small bowls and add desired food coloring. 

Using the back of a regular table spoon, spread a little bit of icing just to the edges of each cookie. It's important not to use too much to where it spreads over the edges. To add decoration I love using little plastic squeeze bottles. The icing is the perfect texture to write and draw with, without being too runny. Let one layer dry before you use another color to decorate with. The royal icing will dry quickly. That being said, if you are using sprinkles, sprinkle them on quickly before the icing dries.

*If you are looking for a frosting you can pipe, I love this one! Especially for Christmas cookies.

BOOMER!

Annie

Perfect Green Smoothie

I've done it. By golly I've done it. I have finally mastered the perfect green smoothie. Creamy, green and filled with layers of flavor. I used to think you could just throw anything into a blender and turn it into a delicious smoothie. Not quite the case. I have unfortunately drinken down a few too many sub par smoothies. Too watery, no flavor, and worst of all brown. Berries and spinach don't make for an appealing smoothie.

green-smoothie1.jpg

I know a lot of people put bananas in their smoothies to make them smooth and creamy, but I'm not a big fan. I don't really favor bananas to begin with and although they are high in potassium they are also high in sugar. Instead I sub bananas for avocado to get that extra creaminess. If you've never put avocado in your smoothie oooooh oh buddy! 

To get a super green smoothie, stick with yellow or citrus fruits. The colors won't clash and you'll end up with a bright green drink! I use pineapple and mango then counteract the tartness with some almond butter and cinnamon. Chia seeds, avocado and the most important, spinach. Blended up with coconut water and booyah---perfect green smoothie. 

Perfect Green Smoothie
yields 1 smoothie

Ingredients:
1 cup non-dairy milk, coconut water or H2O
1 cup spinach
a few sprigs of fresh basil and mint (optional)
1/2 cup frozen mango
1/2 cup frozen pineapple
1/4 avocado*
1 tsp. chia seeds
1 spoonful almond butter
a few shakes of cinnamon

*I like to freeze my avocado. Avocados go bad so fast so once I cut one open I freeze the rest for smoothies. Just make sure you cut it up before you freeze, you don't want to end up with a huge hunk of frozen avocado.

Directions:
Throw everything in your blender and blend baby blend till thick and smooth. Pour into a glass and slurp it down. If you're like me, sprinkle with some granola and eat with a spoon! It's my favorite way to enjoy a smoothie and makes it a little more filling.

I used to always use almond milk in my smoothies but recently switched to coconut water. It keeps you hydrated and adds potassium. I mainly switched because I fell in love with Harvest Bay brand. It has a sort of vanilla taste to it and is without a doubt the best coconut water I've found on the shelf! I made this for my sisters this weekend and they loved. I promise it really is the perfect green smoothie!

Annie

p.s. totally crushing on how my new white kitchen sets the perfect backdrop for food photography!


So Easy a Ramen-Grilled Cheese-Microwave Popcorn-Only Skilled Chef Could Make

Simple, easy, gourmet and delicious. These are the words I like to use when describing anything I'm cooking or eating. This recipe is just that. A gourmet tilapia dish so easy a ramen-grilled cheese-microwave popcorn-only skilled chef could make! You essentially place veggies, tilapia, and seasonings together in a package of foil then bake it up in the oven!

This is the ultimate "college-level" recipe that blows your average college meal away!

uncooked-tilapia.jpg

Before the oven.  

tilapia-packet.jpg

After the oven.

Tilapia Foil Packet
serves one

Ingredients:
1-fresh or frozen fillet of tilapia. (If using frozen make sure it is thawed).
Veggies of your choice, I used shaved brussels sprouts, frozen corn (it will thaw and cook in the oven) and sliced cherry tomatoes.
Dijon mustard
salt and pepper
butter or olive oil
aluminum foil 

Directions:
Preheat your oven to 450 degrees. Cut a piece of foil and place a dab of olive oil or a pat of butter in the center. Place your tilapia over it in the center of the foil. Spread mustard over the top of your fish. Arrange chopped veggies around your fish on the foil. Sprinkle everything with fresh cracked black perpper and sea salt. Pull the sides up of your foil and fold down creating a packet with your fish inside. Place on a cookie sheet and bake for 20 minutes. Your fish should be cooked perfectly after 20. Take out of the oven and enjoy the easiest gourmet meal ever! 

I haven't experiment but I'm sure chicken or any other kind of fish would work as well! 

Try it, let me know how it goes, and I promise anyone can do it! 

Annie