Bites of My Life
/
Summer has been too good for me so far. After getting more settled in the new house, I've loved exploring around Oklahoma City with a new eye. My days have mainly consisted of spending most of the day in the kitchen making breakfast, lunch and dinner or baking, taking a Barre3 class or going on a run, then lounging around enjoying these few weeks with nothing to do!
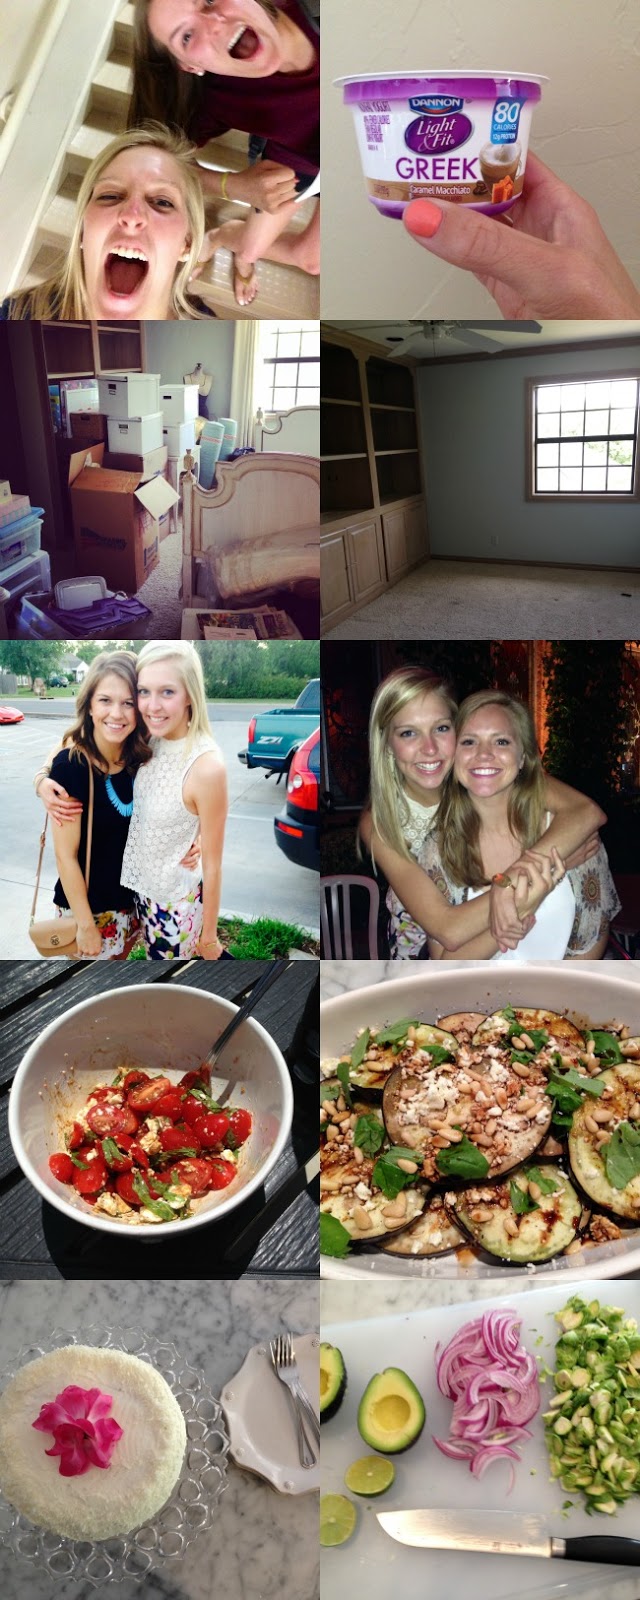
I mentioned how there are lots of moves going on in the Tucker family. Well, yesterday I got a few things moved into my house in Norman, but now I have to start packing to move again, this time to the glorious Washington D.C. Have I mentioned that I will be interning in D.C. yet? More on that later, but I leave Sunday and will be gone all summer. I can't wait to keep you updated on all the new adventures summer is about to bring!
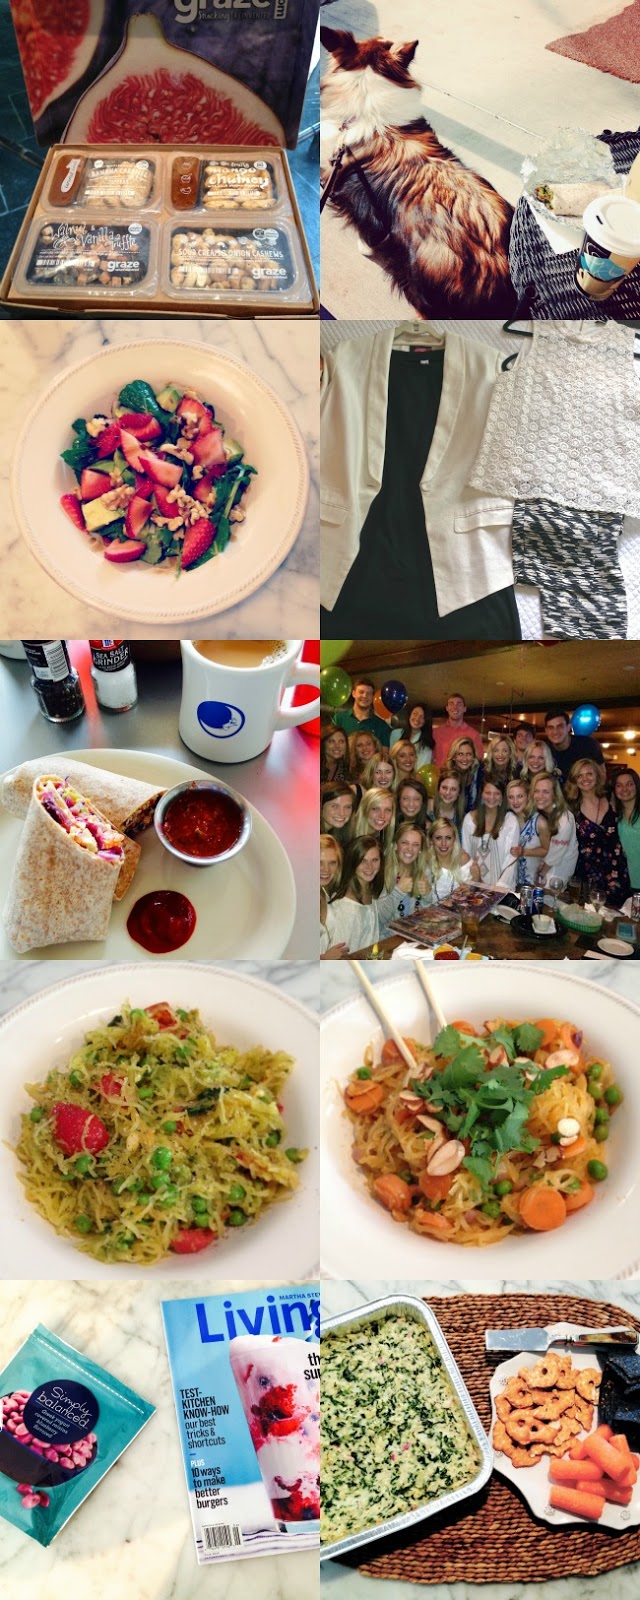
-My first package at the new house was my second Graze Box! The mango chutney and cracked pepper dippers were so good!
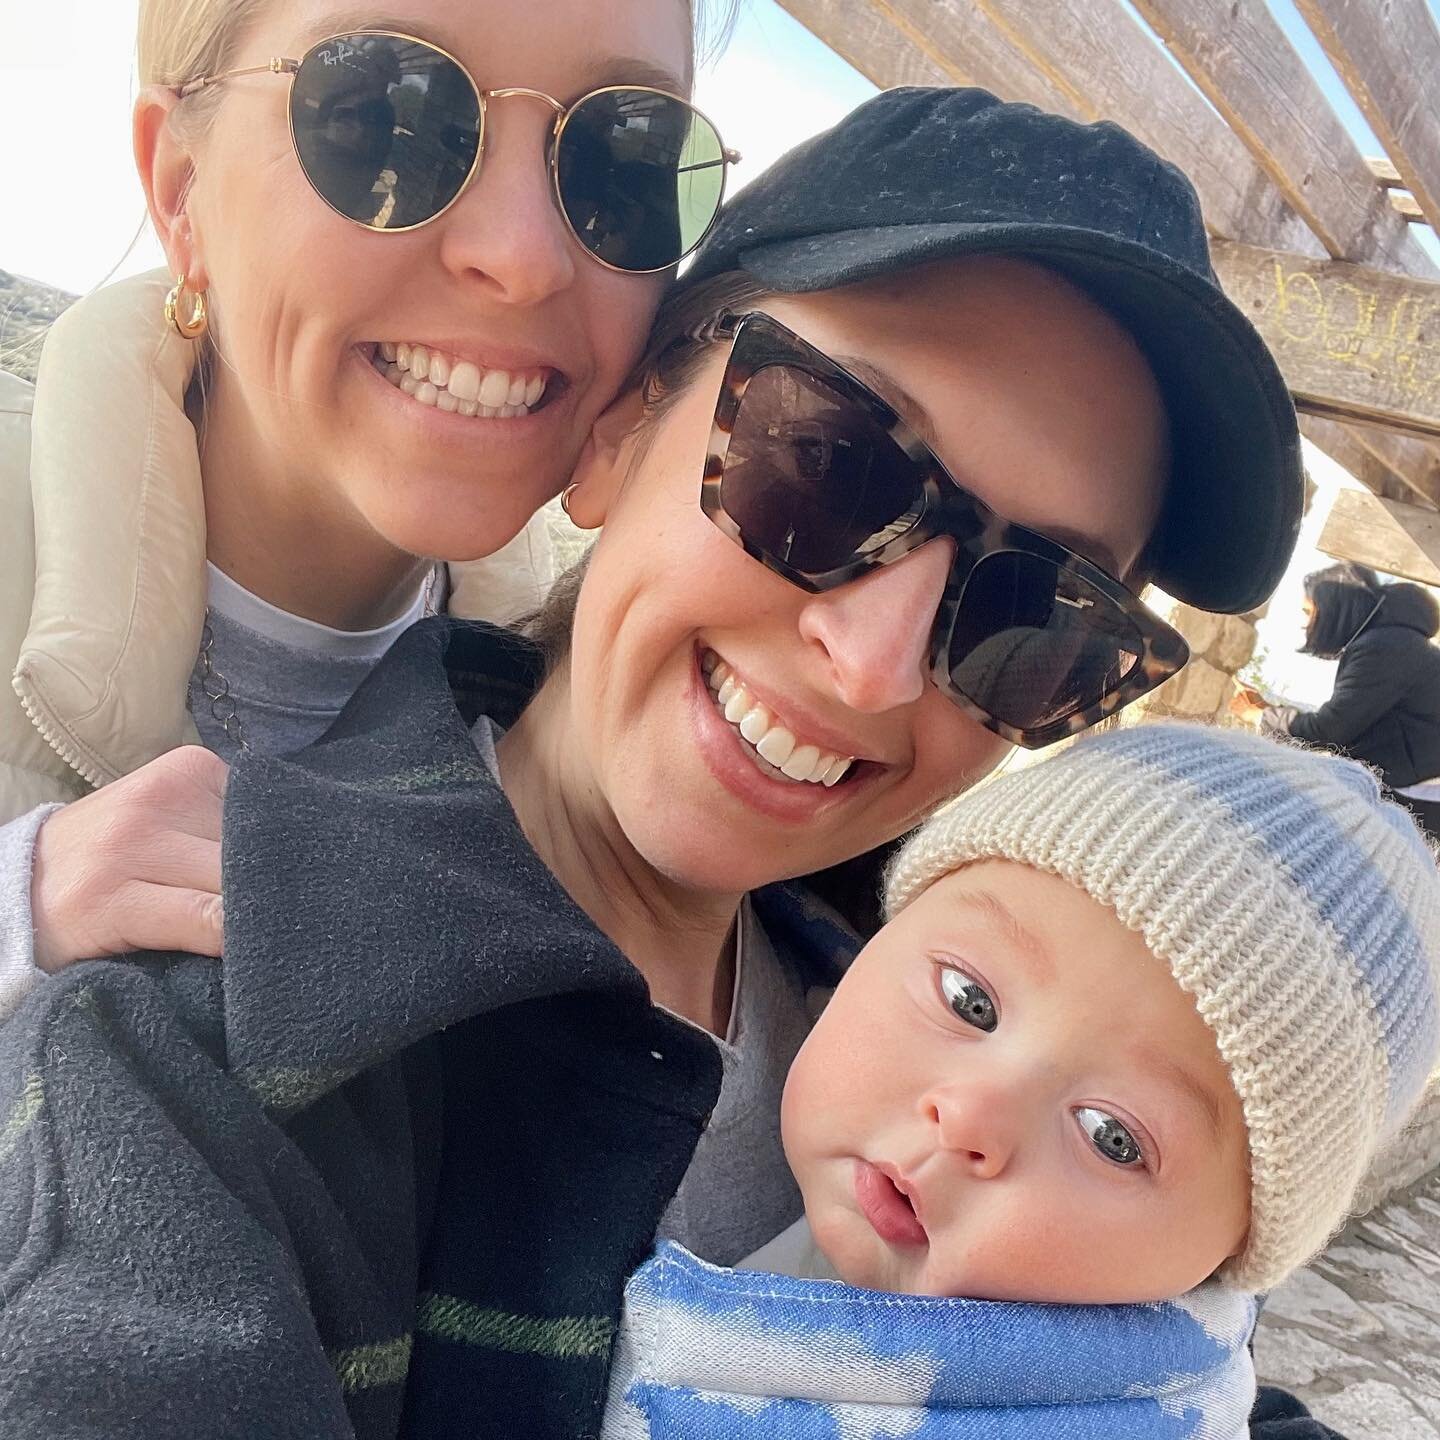
-Stella makes for a great companion while taking a walk down the street to get breakfast!
-Used a recipe on the Barre3 app to make lunch! Whipped up the Spring Kale Salad with Strawberries, Avocado and Maple-Balsamic dressing. Not pictured is the homemade guacamole I made to use up the other half of the avocado!
-Even with summer's arrival I keep gravitating toward black and white outfits instead of bright colors.
-One of the best breakfast wraps I've ever had at Blue Moon Cafe. The addition of sautéed red cabbage makes it really unique. We had a double birthday brunch in Tulsa to celebrate two of my best friend's birthdays.
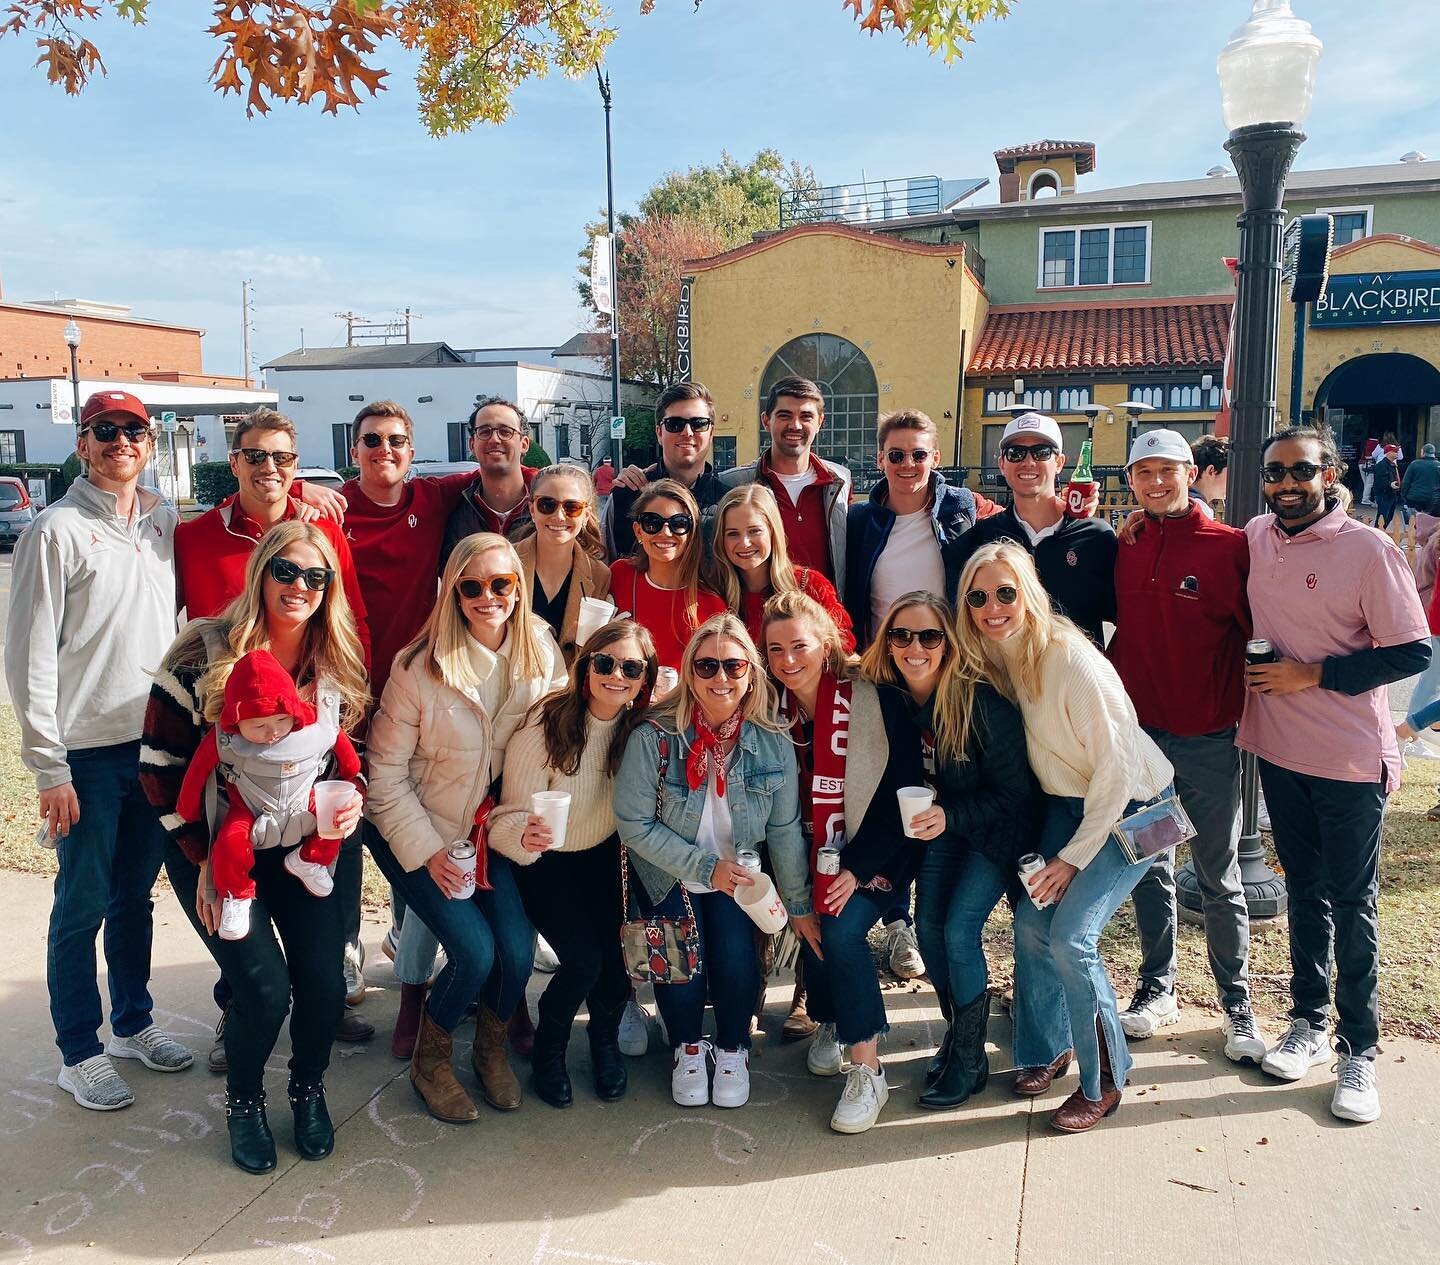
-Everyone back together to surprise our beloved Betsy on her 21st!
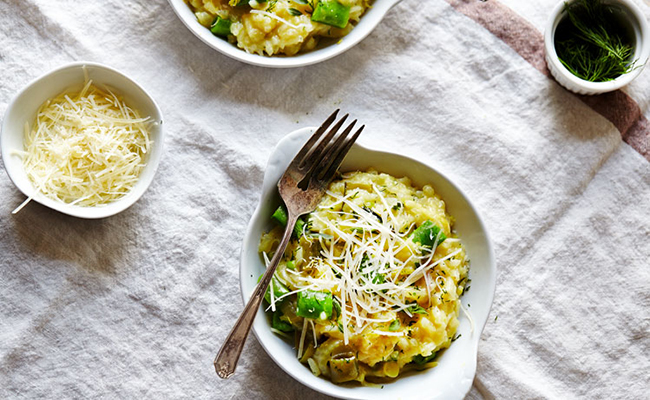
-I've been on a spaghetti squash kick! One spaghetti squash makes a big batch of "noodles." I used it to make a kale pesto, pea, and tomato dish as well as a veggie almond pad thai! Check my insta for the pad thai recipe!
-Two things I couldn't pass up at Target. A good read and an even better snack!
-Skinny Spinach Artichoke dip for a happy hour snack! I used this recipe.
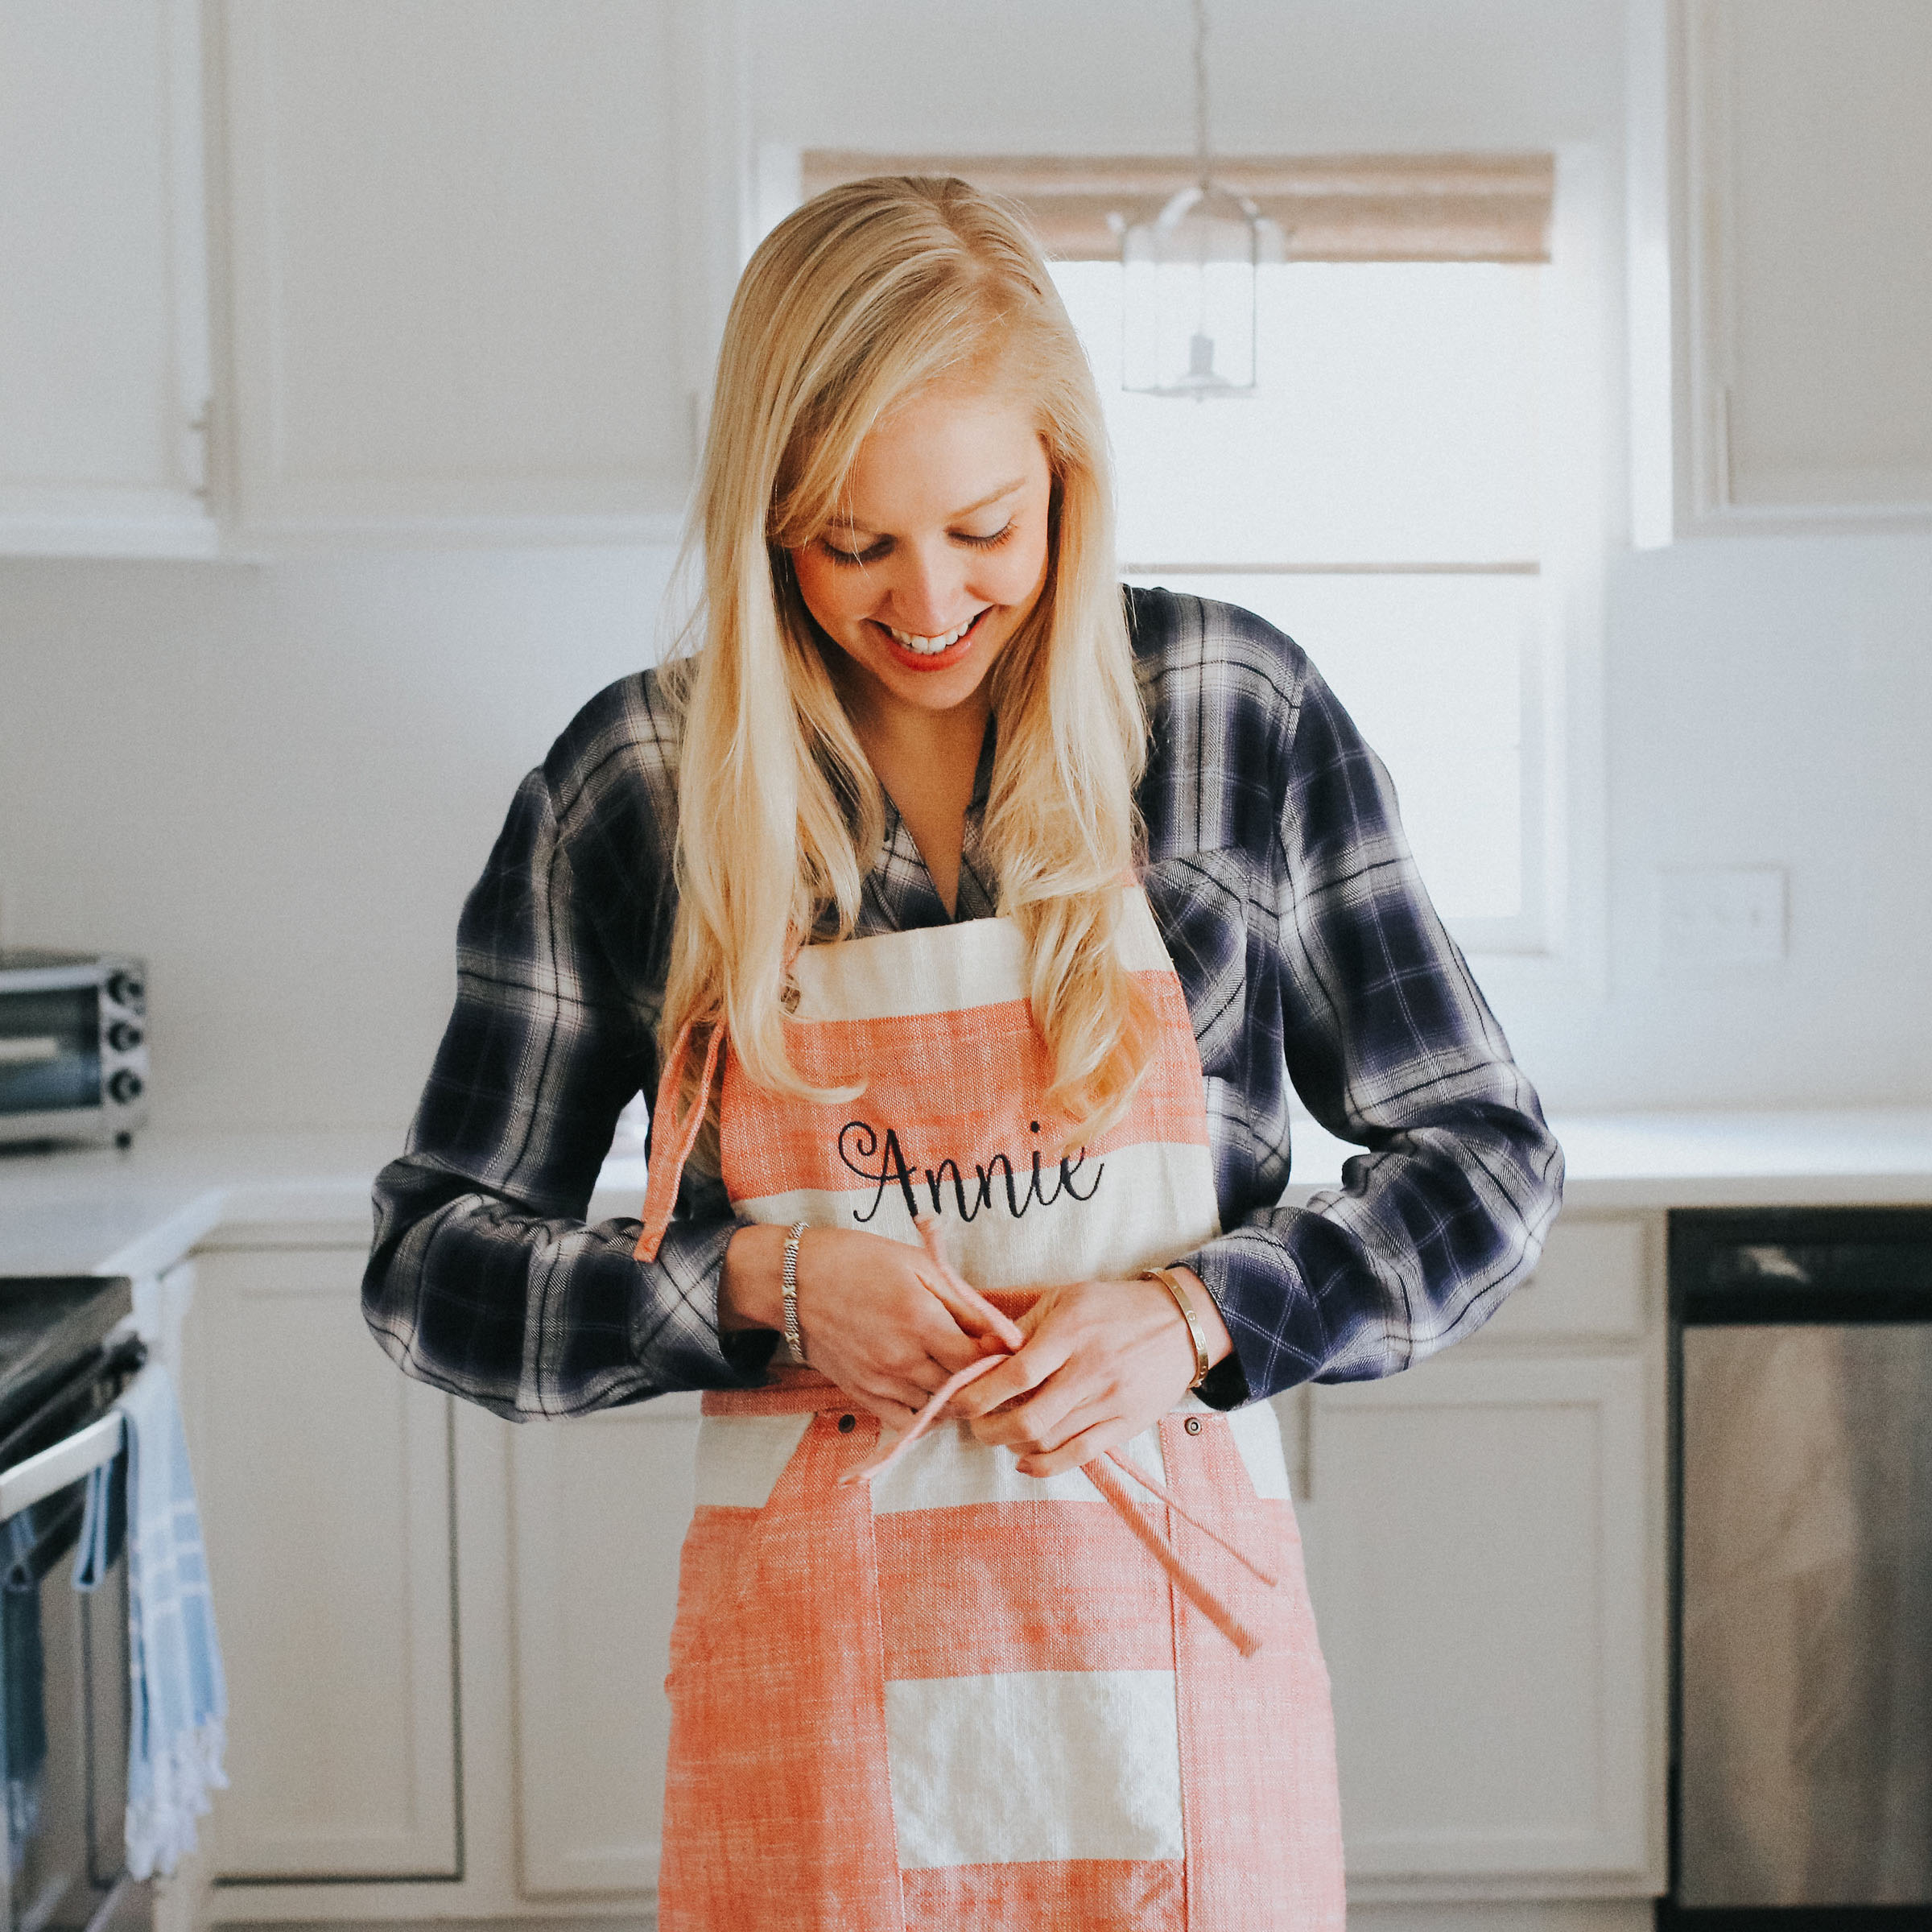
Annie